


Here is the detail guide to install Fgtech Galletto 4 V54 master ecu programmer software driver on Windows XP, Windows 7, Windows 8, Windows 8.1 and Windows 10 respectively.
Part 1.Operation System Requirements
Part 2. Install FGTech EOBD2 Software setup
Part 3. Install Window XP Driver
Part 4.Win7/Win8/Win10 Driver Installation
Part 5.Enable Driver for Window 8
Part 6.Enable Driver for Win8.1
Part 7.Enable Driver for Win10
Operation System Requirements:
Recommended minimum requirements:
– Processor Intel i5
– RAM 4GB
For proper operation of the software it is very important to pay attention to the percentage of the CPU of the computer that it must not be greater than 20% at startup EOBD2.exe the software.
Go to the Task Manager by right-clicking mouse on the taskbar and then Task Manager:

Now you can view the status CPU :
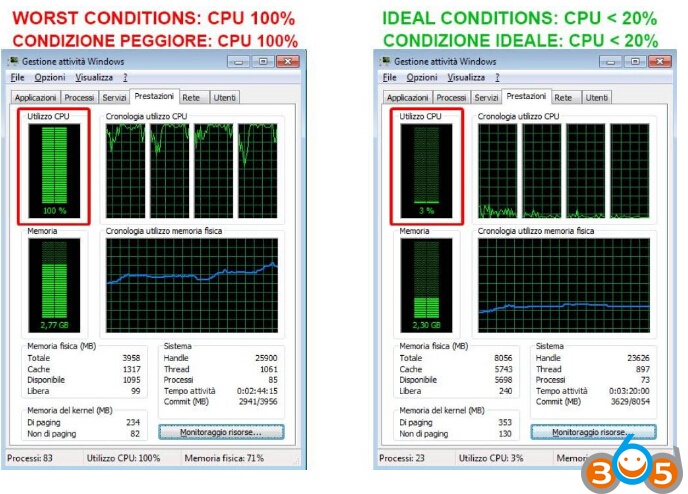
If the percentage of CPU usage is more than 20%, the start and the operation of the program is not guaranteed.
ATTENTION: DON’T install the software if in your pc there is software or driver of clones installed. There is risk of damaging the tool!
FGTech EOBD2 Software Installation
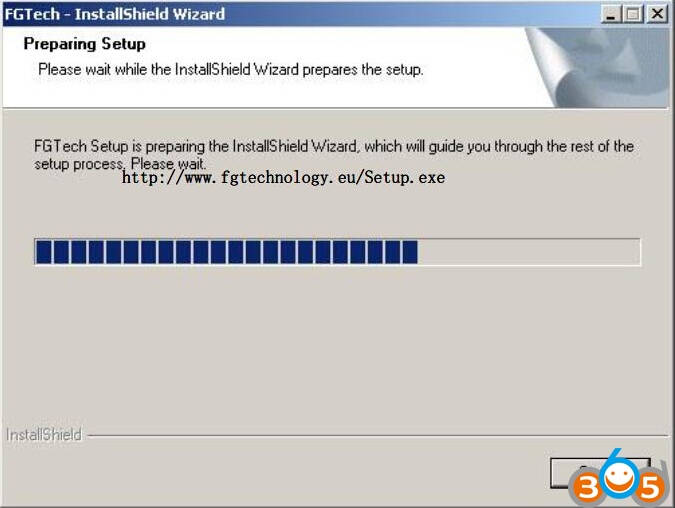
Click there to download the file Setup.exe
After download completing,run the Setup.exe.
Click “Next”

Read the conditions of contract attentively and accept the terms of license:
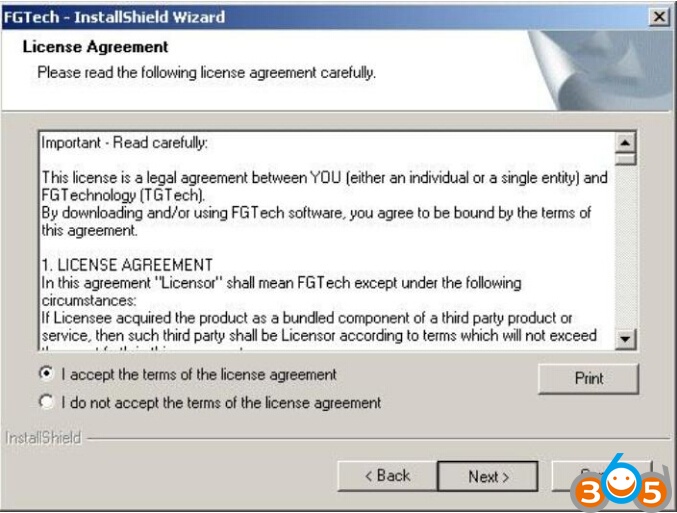
Maintain the folder of installation C:\FGTech and click Next

Click “Install”
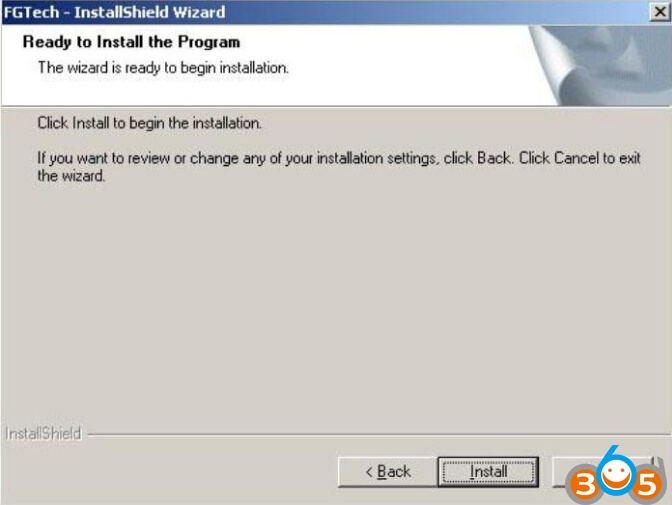
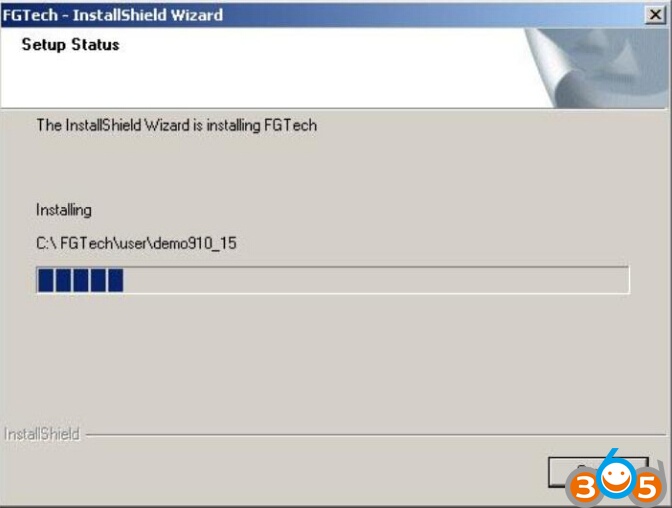
Wait that the installation has completed
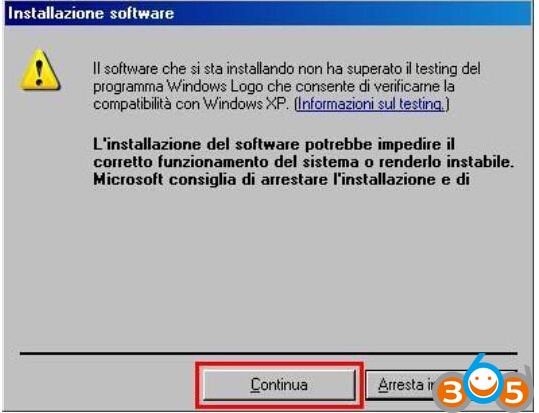
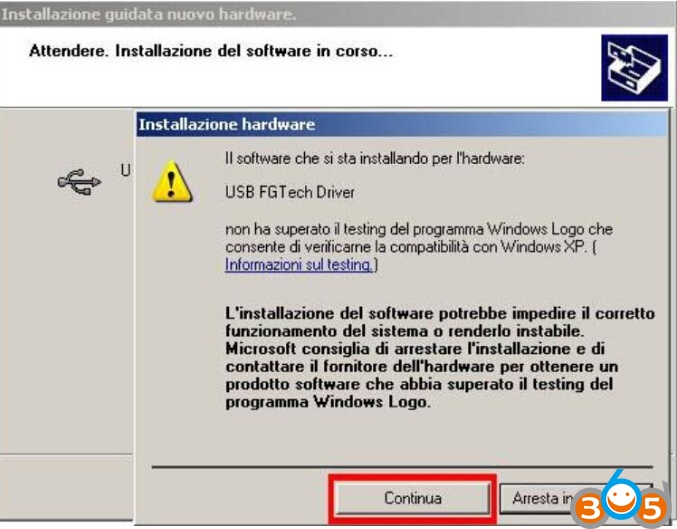
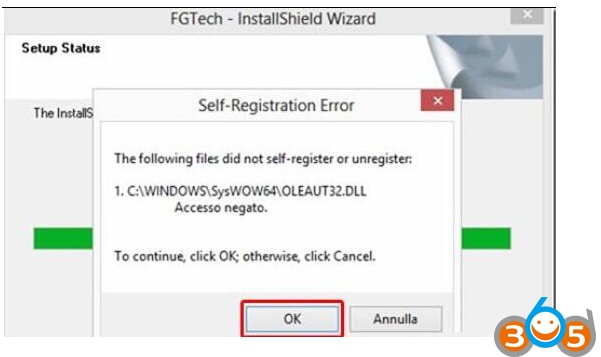
If you see the following message click “Continue”
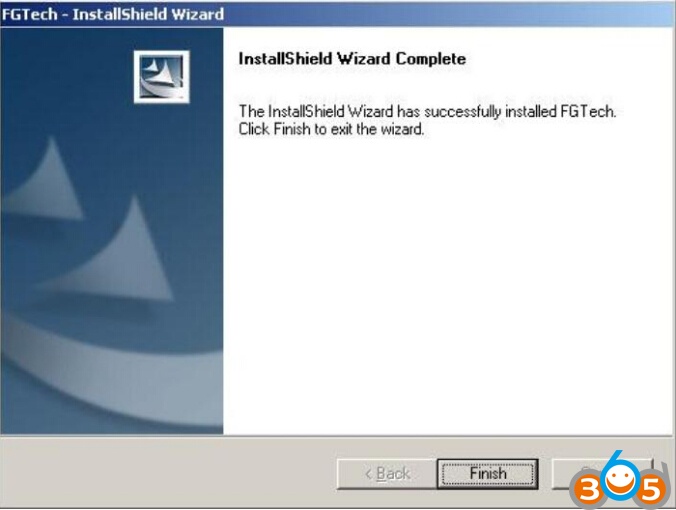
The software is install in your computer. Click Finish.
ATTENTION:
While using the software EOBD2, close all programs that use data streaming and Voip as SKYPE, MSN Messanger, etc; and close all browser with pages that working on social network like Facebook, Twitter, etc.
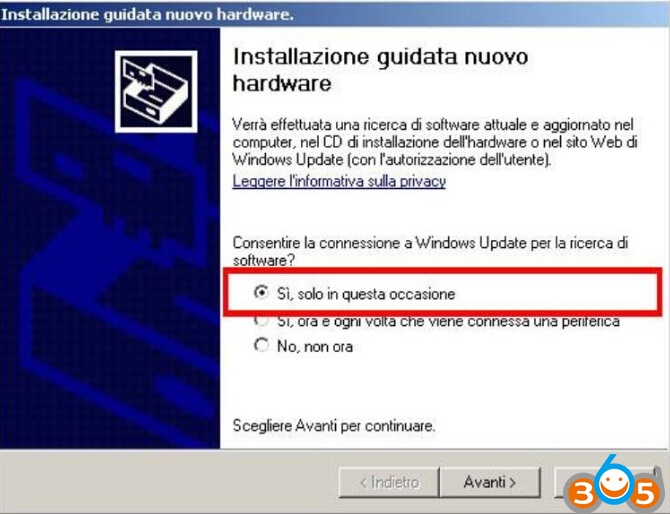
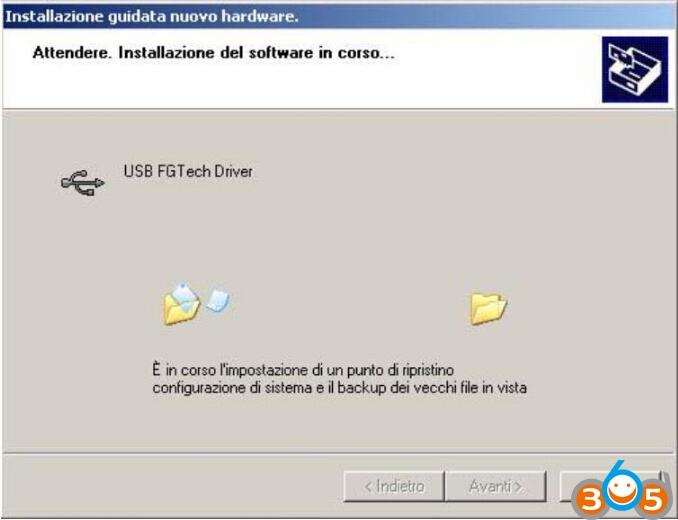
Install Fgtech Galletto Window XP Driver:
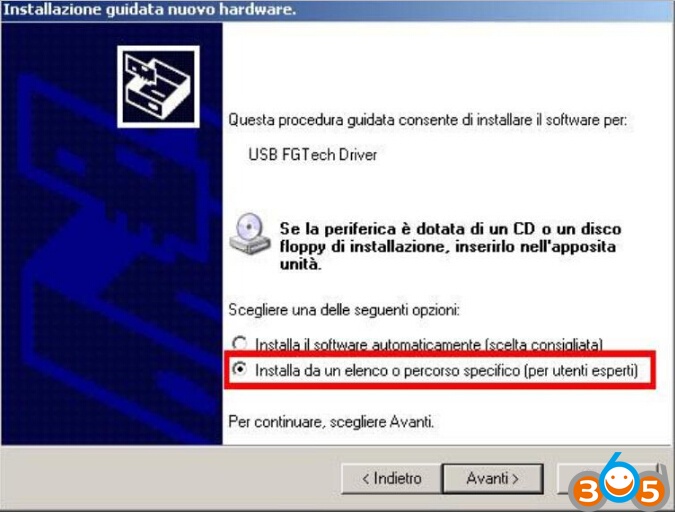
We show of succession the procedure for installing the driver to execute only if your computer doesn’t recognize the peripheral when you connect the tool to the usb door.
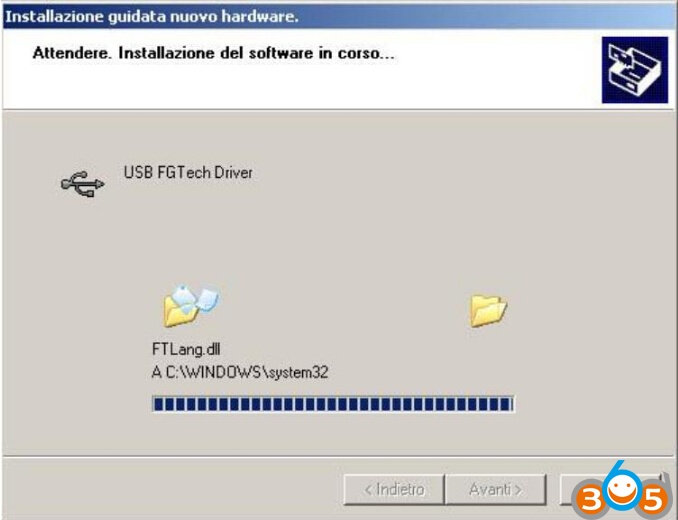
Follow the instructions:
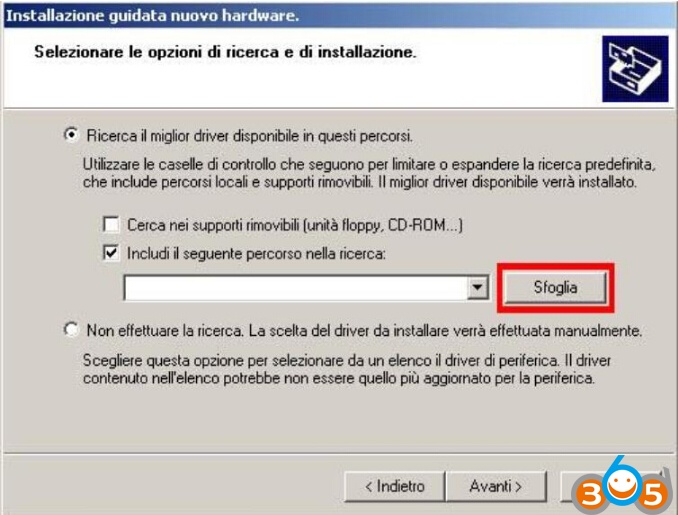
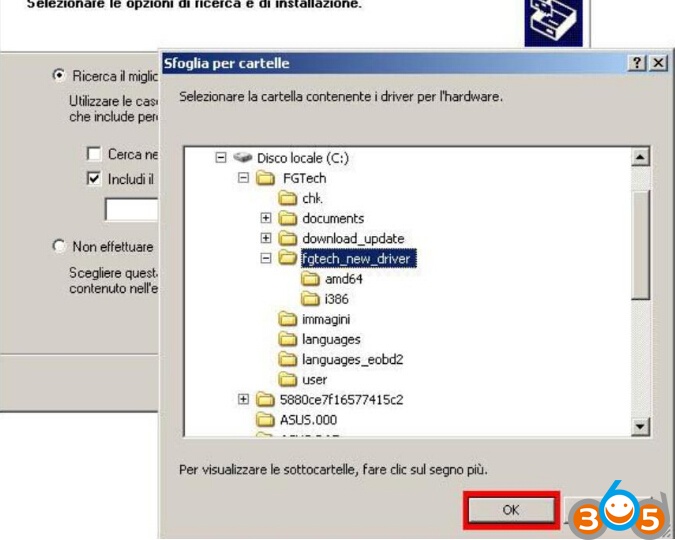
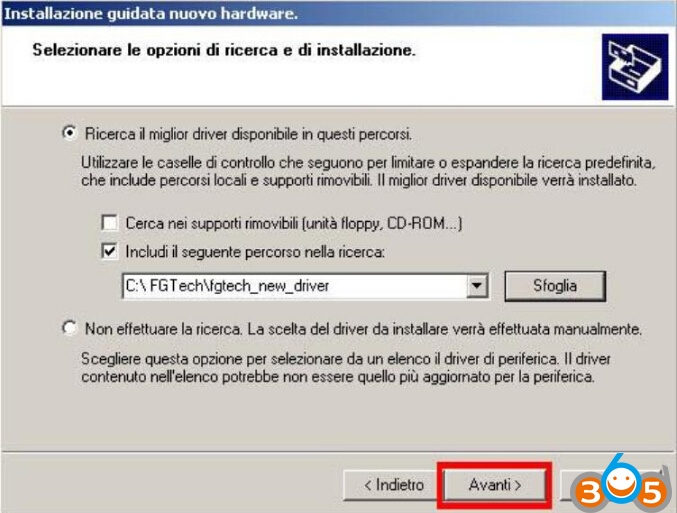
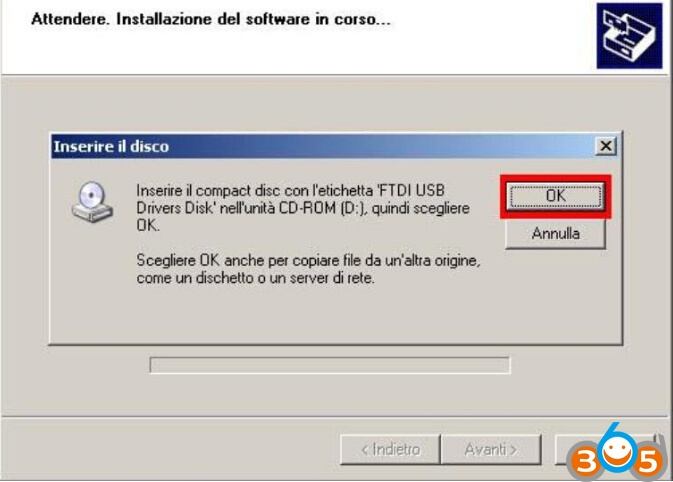
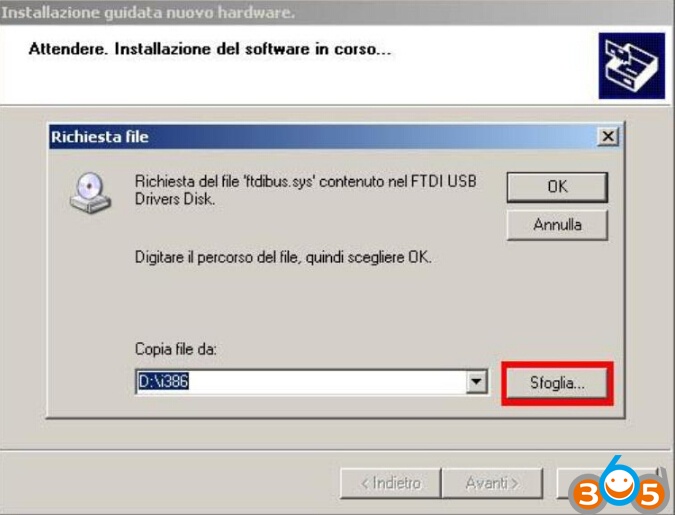
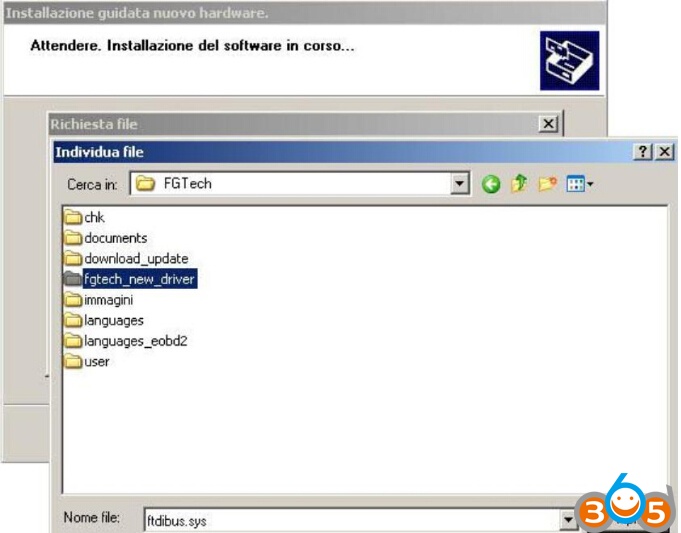
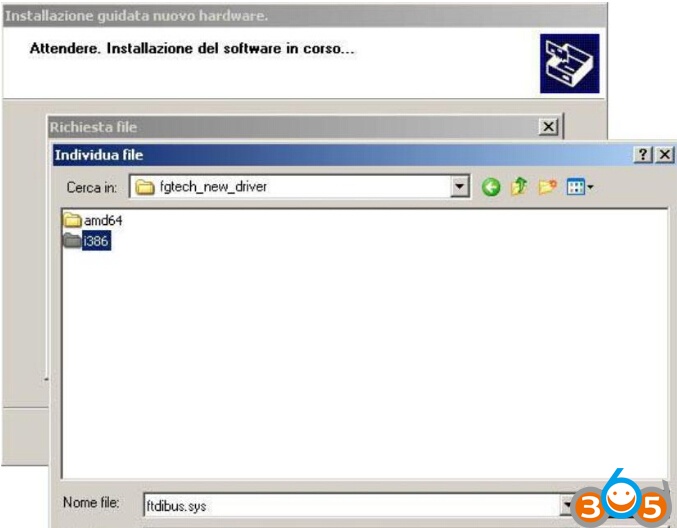
If the processor of the computer is 64bit choose amd64:
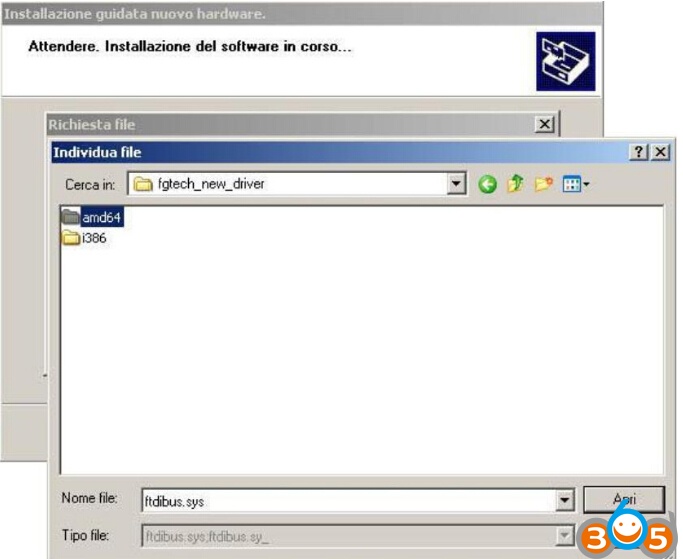
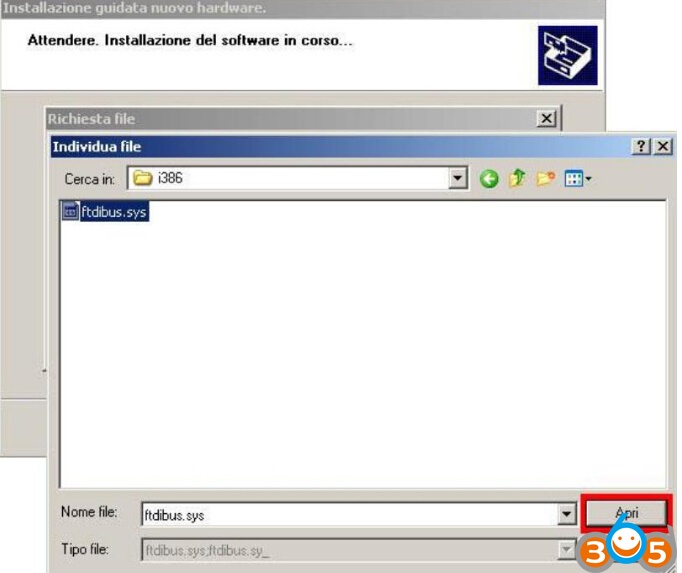

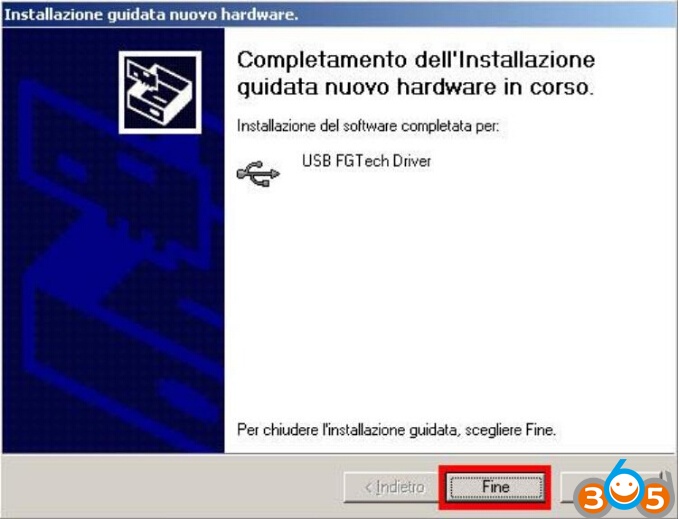
Click finish
Win7/Win8/Win10 Driver Installation:
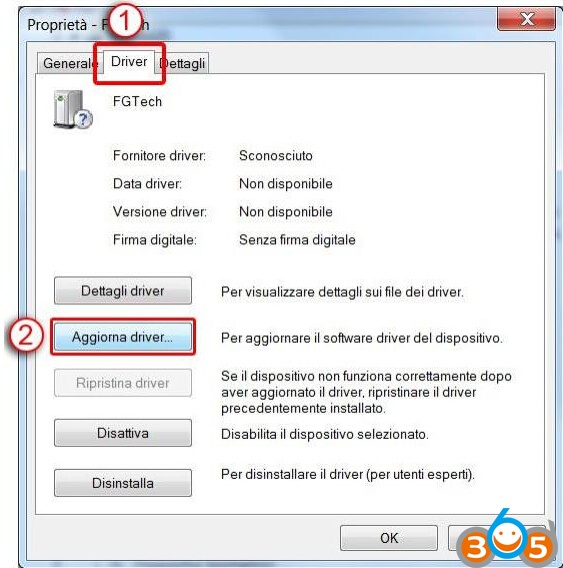
After installing the Fgtech v54 Setup.exe, with Windows 7/8 is possible that connecting it via USB cable may not be recognized because the drivers were not installed.In the Computer Management the tool appears with a yellow triangle as in the figure below.Click with the right mouse button on the device and select Properties.

Open the driver tab and Click on “Update driver..”
Select“Search the software of the driver on the computer”
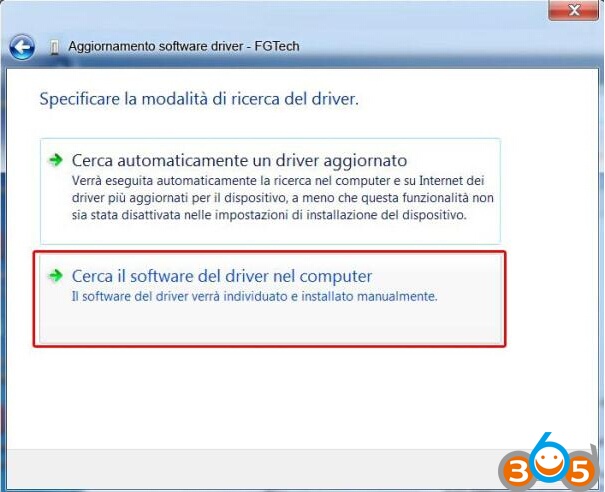
Choose the path of the driver search: C:\ Fgtech\fgtech_new_driver and check “Include subfolders”

Now the driver will be installed:

If appear this message click OK:

Attention:If appear this message:
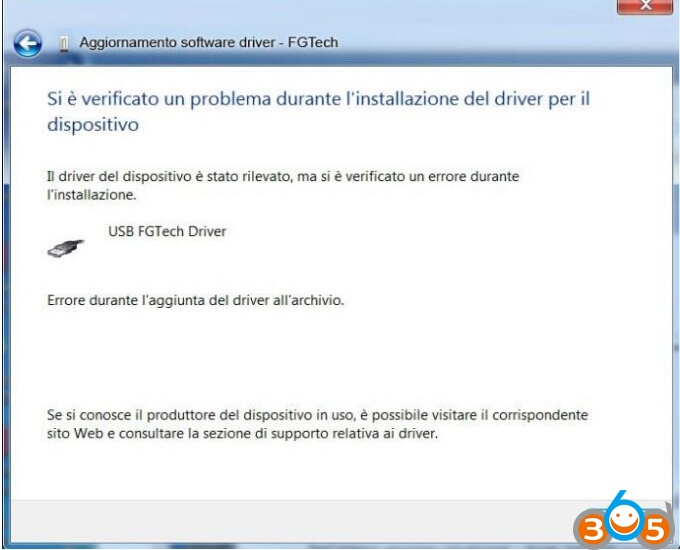
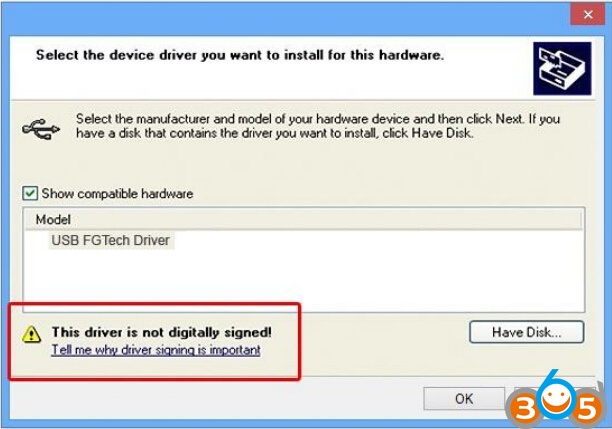
In this case, you must manually select the drivers on your computer:
Then, return to the Computer Management > DeviceManager, right click on the device FGTech and click Properties.
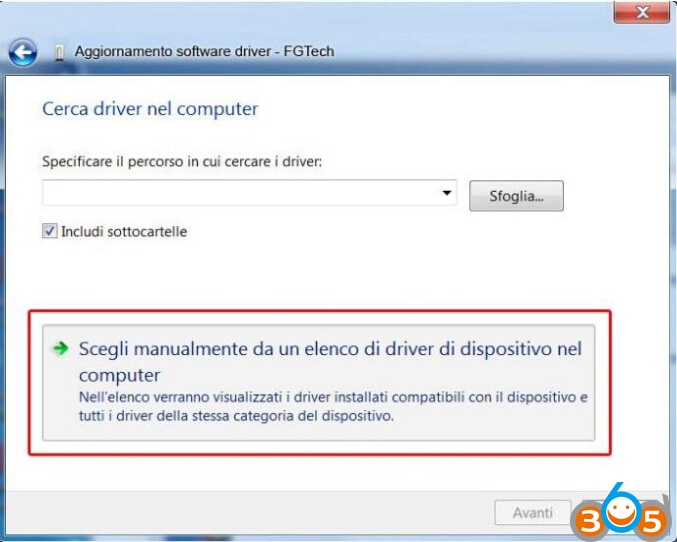
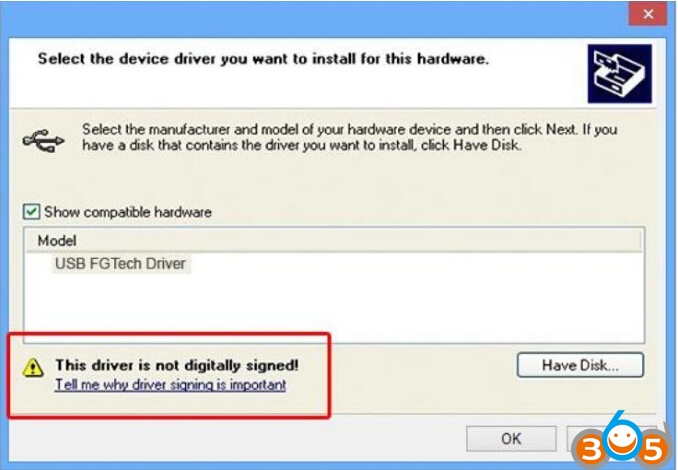
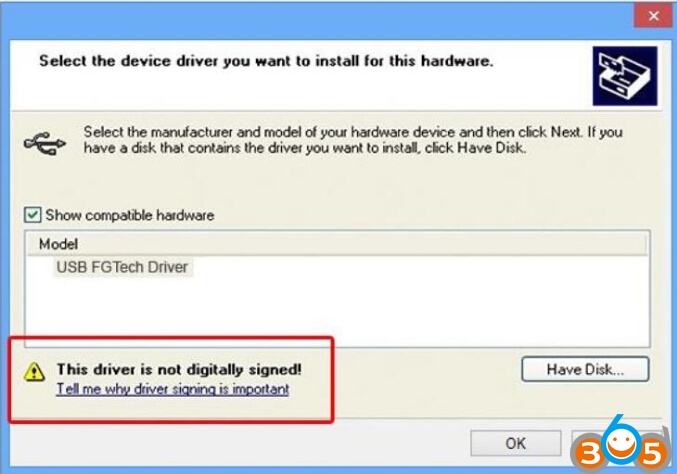
Open the “Driver” tab, click “Update driver” and then Click on “Let me pick from a list of device
drivers on my computer”:
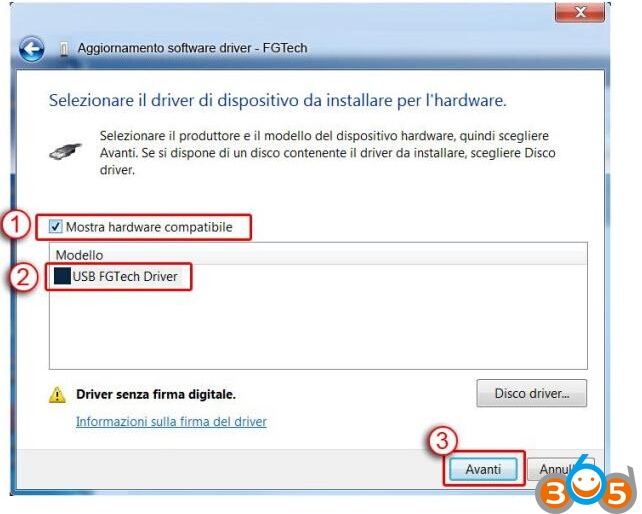
Check “Show compatible hardware”, select “USB FGTech Driver” and click next
Now the driver will be installed:
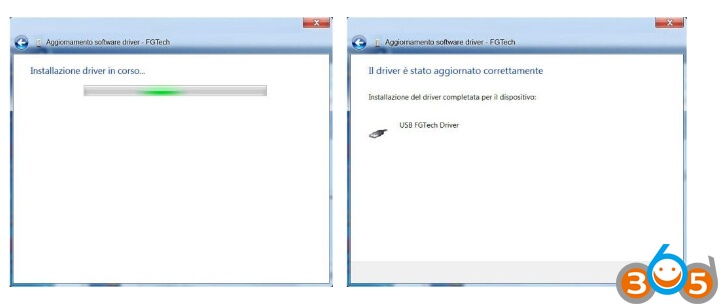
If appear this message click OK:
Enable Driver for Window 8
After installation of the Setup.exe in Windows 8, when you connect by USB the interface is possible that the pc don’t recognized since the drivers are not installed. If you try to install manually the driver through the peripheral management it will appear the follow error message:
It i s possible resolve the problem following the same procedure of Windows 7. Click here to see.
Even if it does not accept the drivers manually, you need to disable the control of the driver signing.
Follow the follow in instructions:
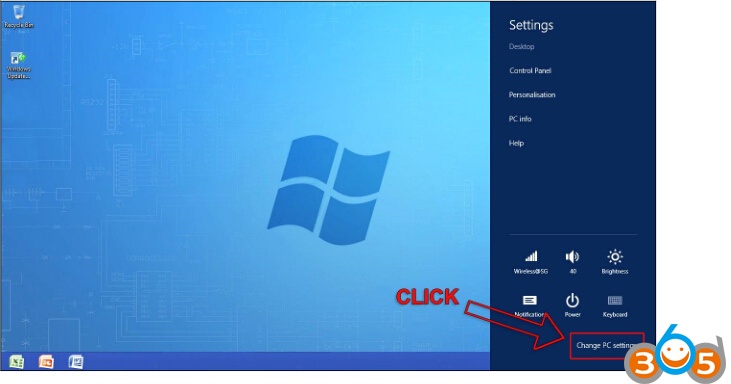
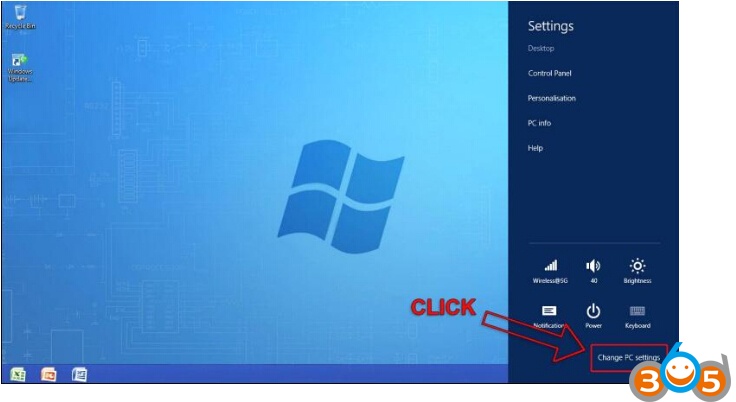
Restart the pc in advanced mode, so, from the desktop, open the Charm Bar to the right and click
on Change PC Settings:
Now it open the screened of the PC settings, click on General and then Restart now:
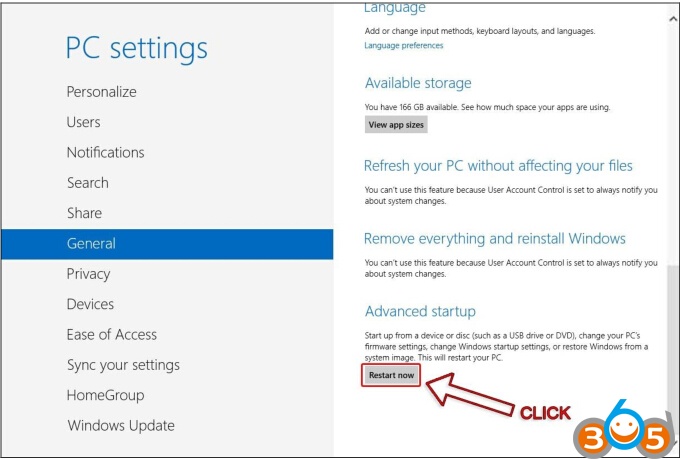
Click on the right Restart now .
The PC will restart in advanced mode.
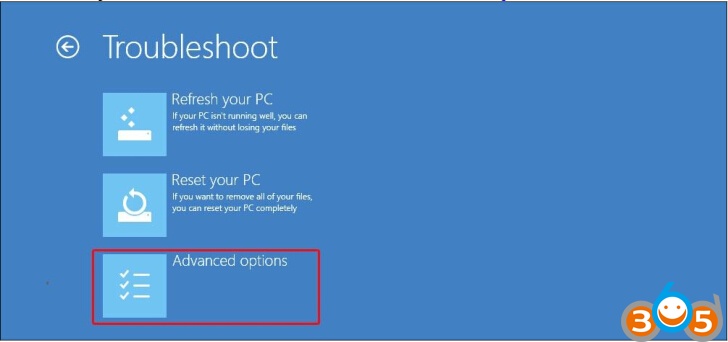
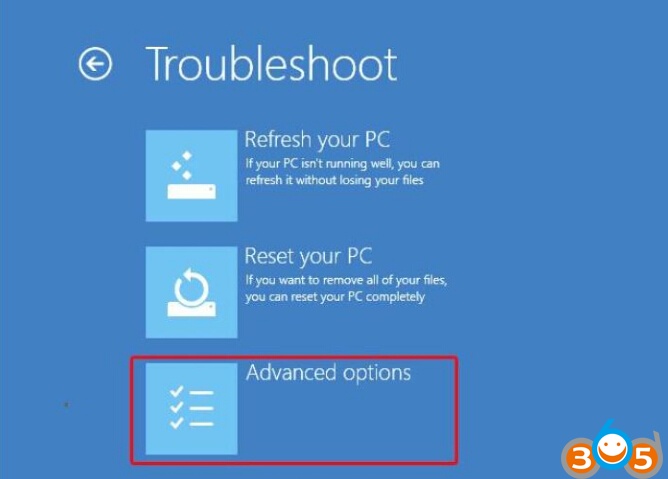
After the restart with Windows 10, it will appair the following screened, click on Troubleshoot.

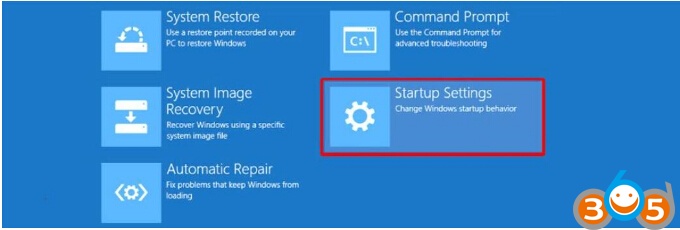
Click on Advanced options
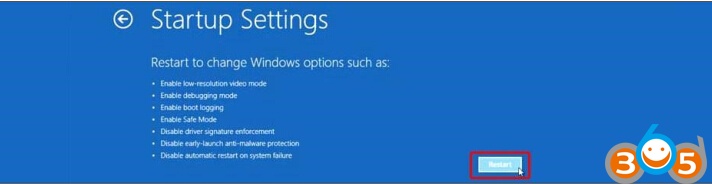
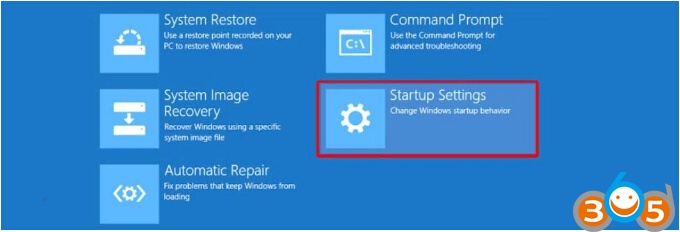
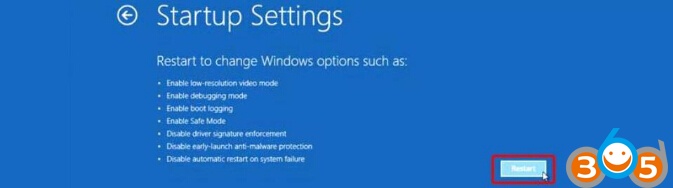
Click Startup Settings

Click Restart
After the restart, at the screened below, press the button 7 that corresponds to:
Disable driver signature enforcement.
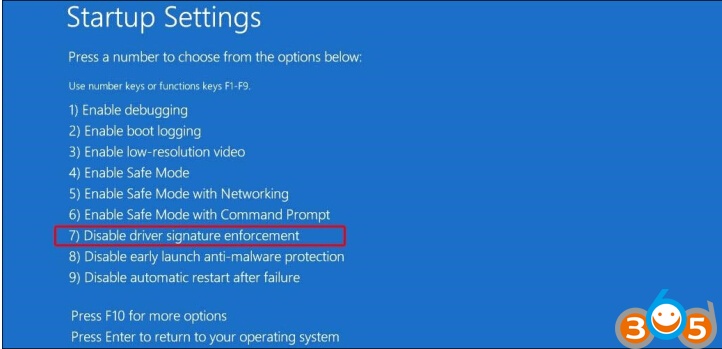
The PC will restart
NOW YOU CAN INSTALL THE DRIVER: Click Here.
Enable Fgtech Galletto Driver for Win8.1
After installation of the Setup.exe in Windows 8.1, when you connect by USB the interface is possible that the pc don’t recognized since the drivers are not installed. If you try to install manually the driver through the peripheral management it will appair the follow error message:
It i s possible resolve the problem following the same procedure of Windows 7. Click here to see.
Even if it does not accept the drivers manually, you need to disable the control of the driver signing.
Follow the followin instructions:
Open the Charm bar to the right and click CHANGE PC SETTINGS:
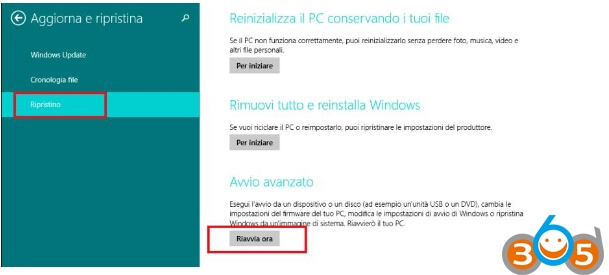
Click Update and restore

Click Restore and then Restart now to the right:
The PC will restart in advanced mode.
After the restart with Windows 10, it will appair the following screened, click on Troubleshoot

Click on Advanced options
Click Startup Settings
Click Restart

After the restart, at the screened below, press the button 7 that corresponds to:
Disable driver signature enforcement.
The PC will restart
NOW YOU CAN INSTALL THE DRIVER:
Enable Driver for Window 10
After installation of the Setup.exe in Windows 10, when you connect by USB the interface is possible that the pc don’t recognized since the drivers are not installed. If you try to install manually the driver through the peripheral management it will appair the follow error message:
It i s possible resolve the problem following the same procedure of Windows 7. Click here to see.
Even if it does not accept the drivers manually, you need to disable the control of the driver signing.
Follow the following instructions:
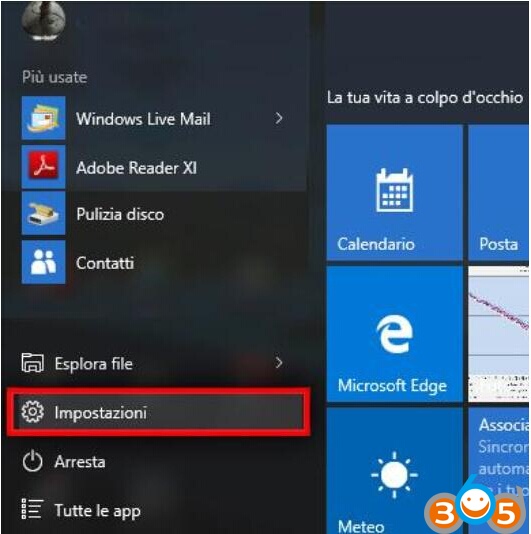
Restart the pc in advanced mode, so click Start > Settings
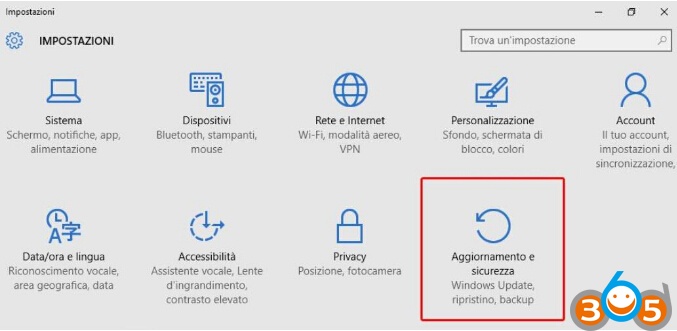
Click Update and security:
Click Restore and then Restart now to the right:

The PC will restart in advanced mode.
After the restart with Windows 10, it will appair the following screened, click on Troubleshoot:

Click on Advanced options

Click Startup Settings
Click Restart
After the restart, at the screened below, press the button 7 that corresponds to:
Disable driver signature enforcement.

The PC will restart.
NOW YOU CAN INSTALL
THE DRIVER:
ATTENTION:WHEN YOU START EOBD2.EXE IF APPAIR A MESSAGE “APP NOT SICURE” CLICK “MORE INFORMATION” AND THEN “ALLOW”


