


Purpose:
BMW used engine replacement – Reading the ISN from a BMW Siemens MSD80 ECU then writing the info into the CAS module.
On some you can change the ISN in the ECU but these just change it in the CAS and once running update VIN in ECU diagnostically.
Device used:
XP400 programmer
APB106 cable
Main steps:
Step 1: Read ISN code from MSD80
Step 2: editing the CAS to accept the used DME after replacement
Procedure:
Step 1: Read MSD80 ISN code
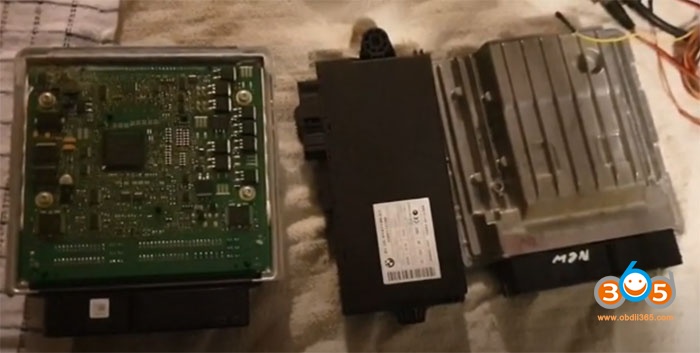
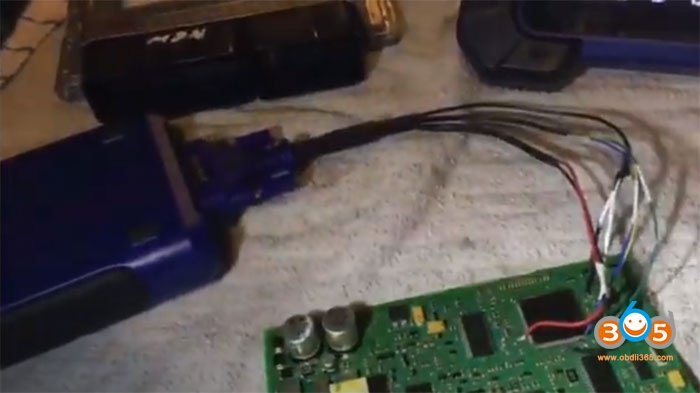
Remove MSD80 DME from vehicle
Follow IM608 wiring diagram to connect DME (check detail connection later)
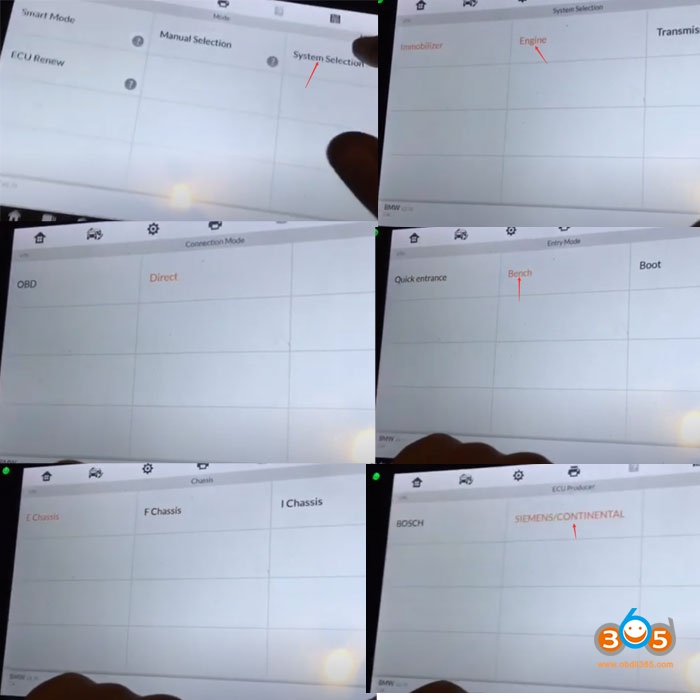
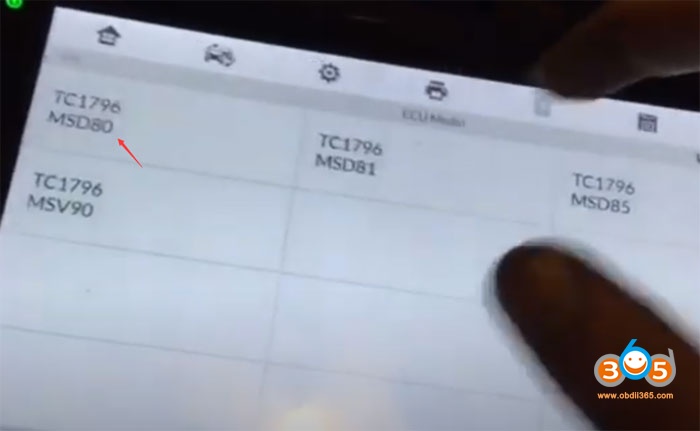
In Autel IM608, select BMW->System Selection-> Engine->Direct->Bench->E Chassis->SIEMENS/Continental->TC1796 MSD80
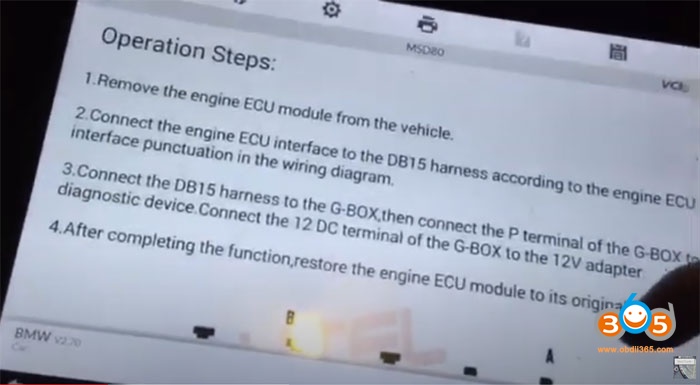
Operation steps:
Remove the engine ECU module from the vehicle
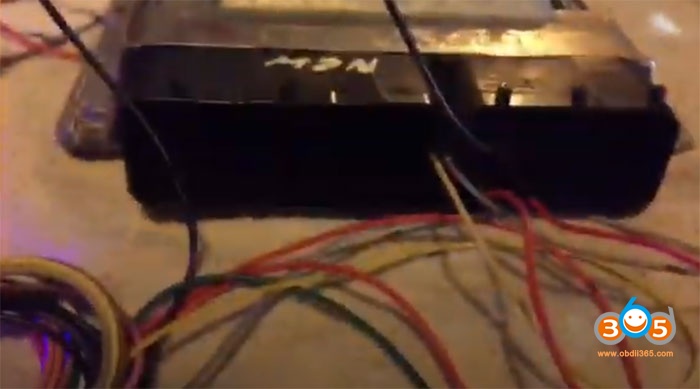
Connect the engine ECU interface to the DB15 hardness according to the engine ECU interface punctuation in the wiring diagram
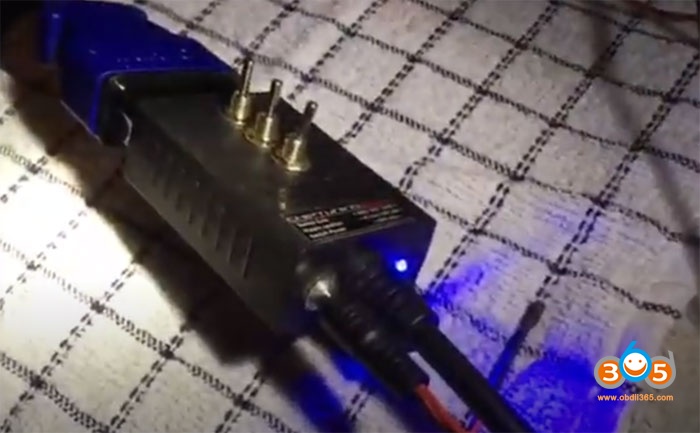
Connect the DB15 hardness to the G-BOX, then connect the P terminal of the G-BOX to the diagnostic device.
Connect the 12V DC terminal of the G-Box to the 12V adapter
After completing the function, restore the engine ECU module to its original state.
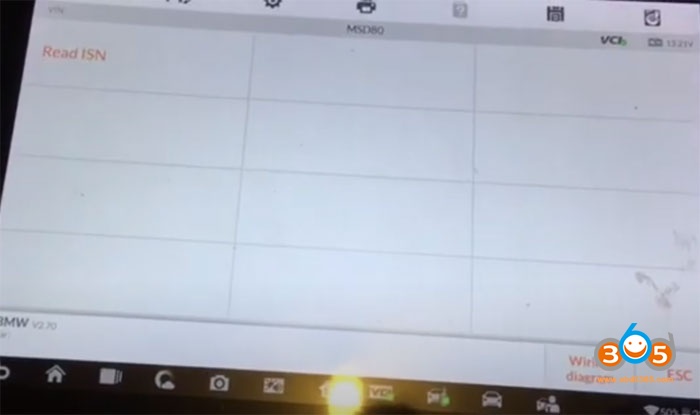
Read ISN
Enable network connection
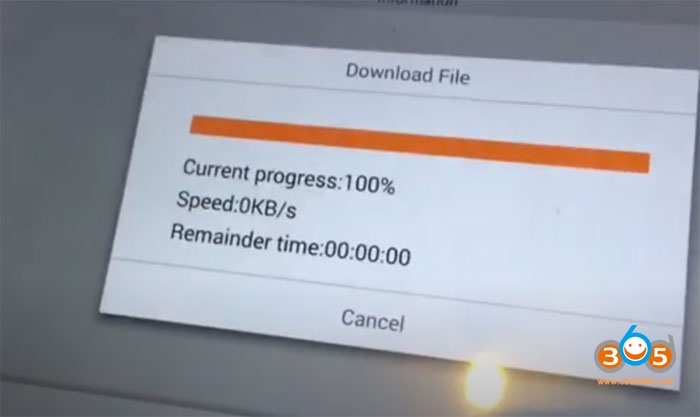
Connecting to internet to obtain data
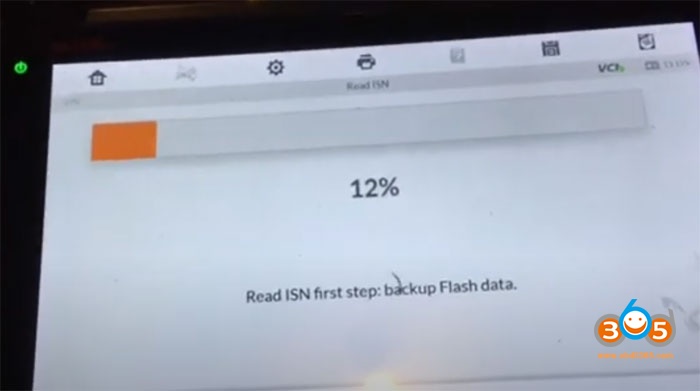
Backup data before read ISN
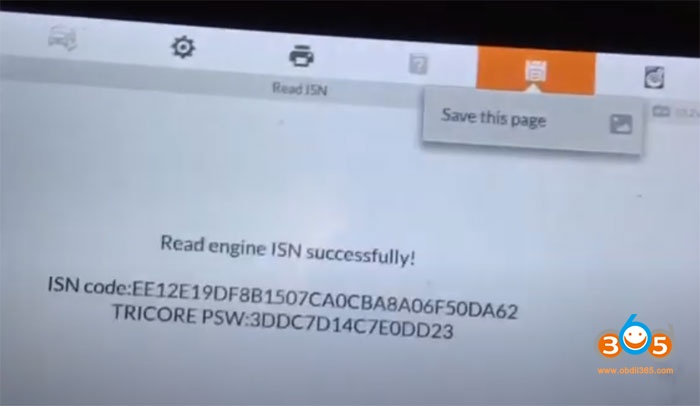
Read engine ISN successfully. Save this page.
Step 2: Edit CAS to accept the new engine

Connect CAS3 module with Autel XP400 programmer
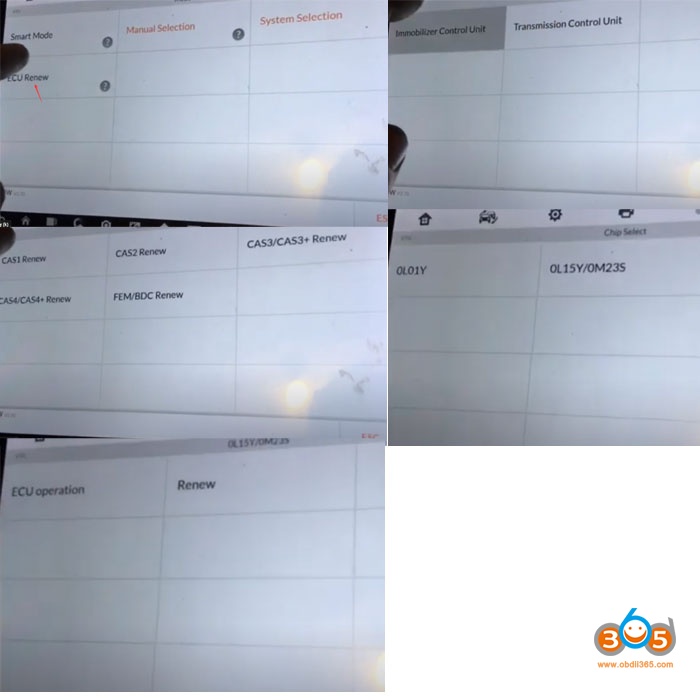
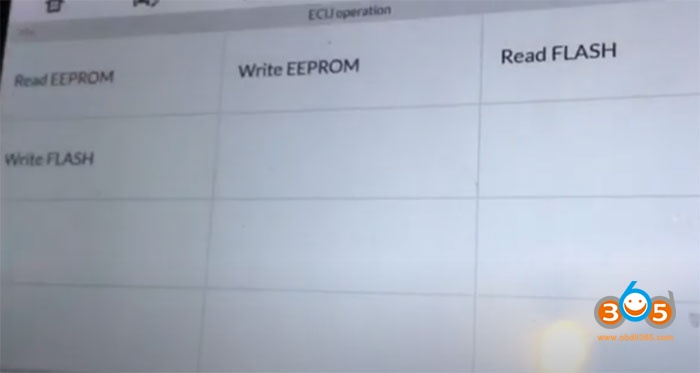
Go back to BMW function interface, select ECU Renew->Immobilizer Control Unit->CAS3/CAS3+ Renew->1L15Y/0M23S->ECU operation
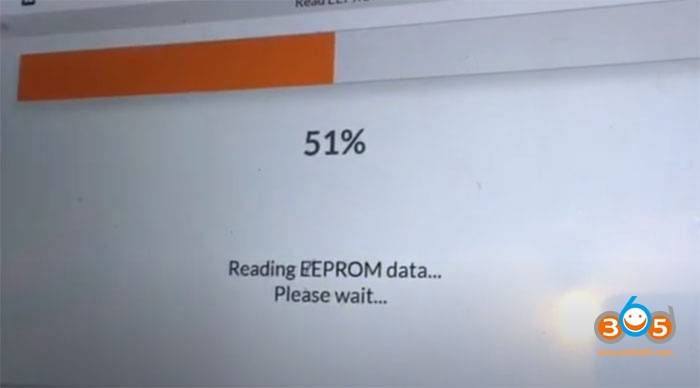
Read EEPROM
Read eeprom successfully. Save eeprom

Read Flash
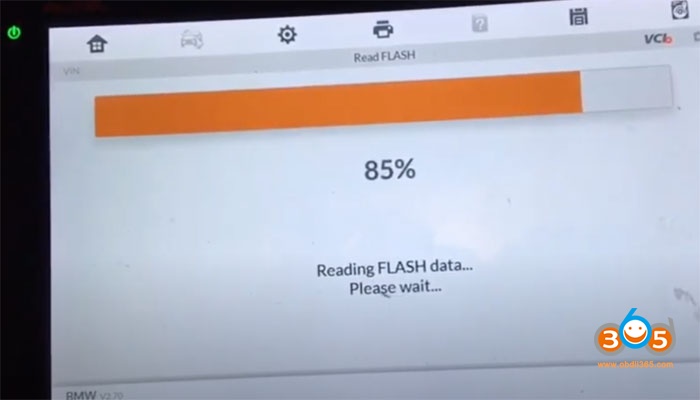
Reading FLASH data completed.
Select Renew Function
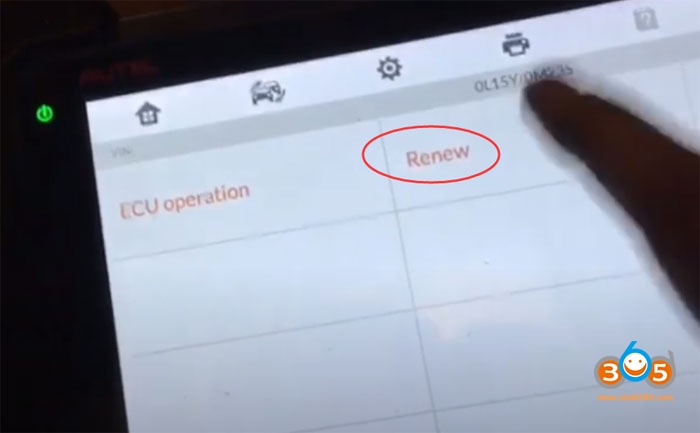
Follow steps below to renew ECU
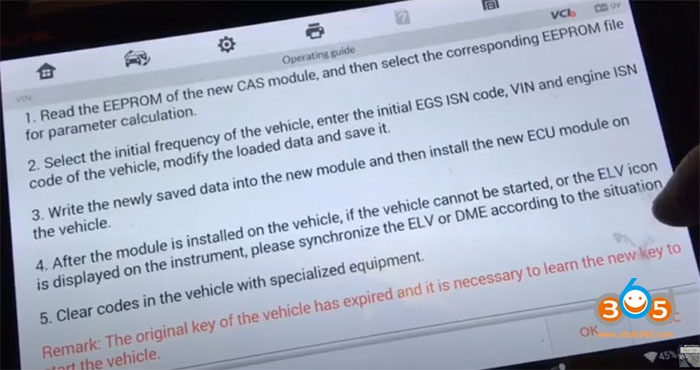
1. Read the EEPROM of the new CAS module, and then select the corresponding EEPROM file for parameter calculation
2.Select the initial frequency of the vehicle, enter the initial EGS ISN code, VIN and engine code of the vehicle, modify the loaded data
3.Write the newly saved data into the new CAS module and then install the new ECU module to the vehicle
4. After the module is installed on the vehicle, if the vehicle cannot be started, or the ELV icon is displayed on the instrument, please synchronize the ELV or DME according to the situation
5.Clear codes in the vehicle with specialized equipment
Note: The original key of the vehicle has expired and it is necessary to learn the new key to start the vehicle.
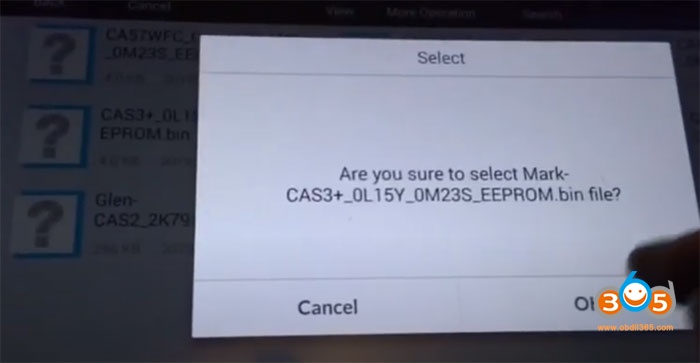
Press OK to load EEPROM data saved above
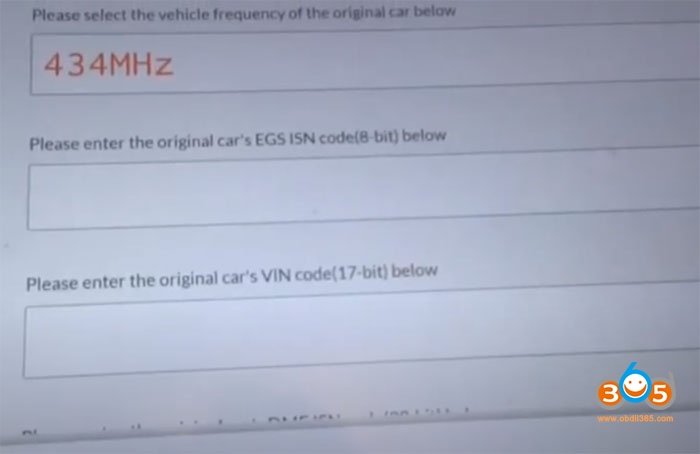
IM608 requires to enter following information
Select vehicle frequency of the original car
Enter the original car’s EGS ISN coding (8-bit)
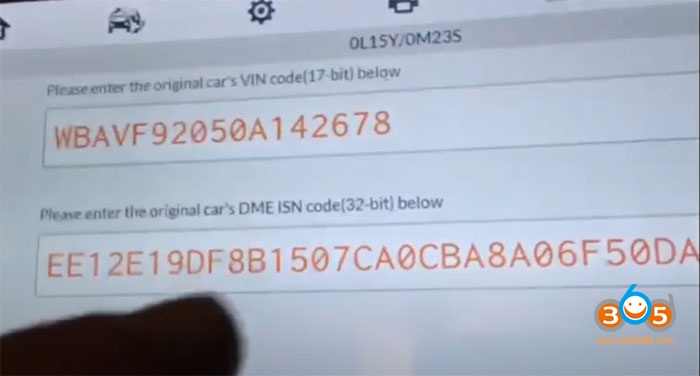
Enter the original car’s VIN code (17-bit)
Enter the original cars’s DME ISN code (32-bit)
and submit
Then save the new renew CAS data to bin format.
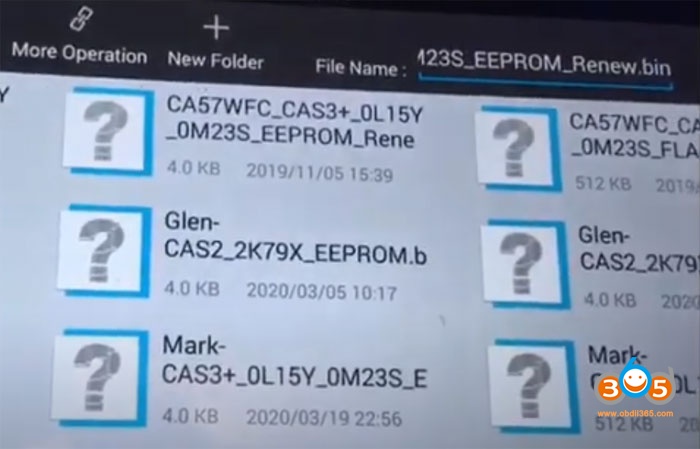
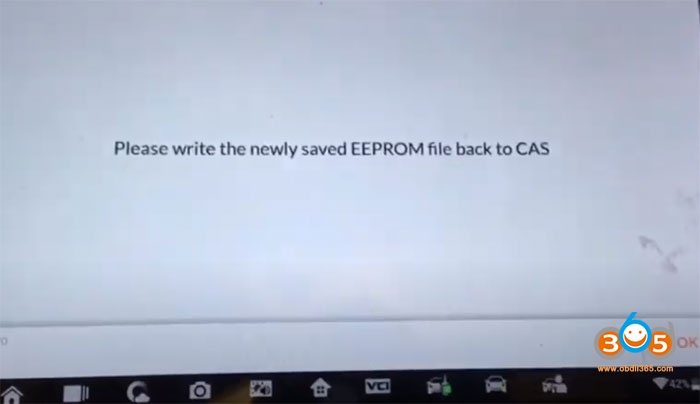
Write the newly saved EEPROM file back to CAS
Select the newly saved EEPROM file and write data
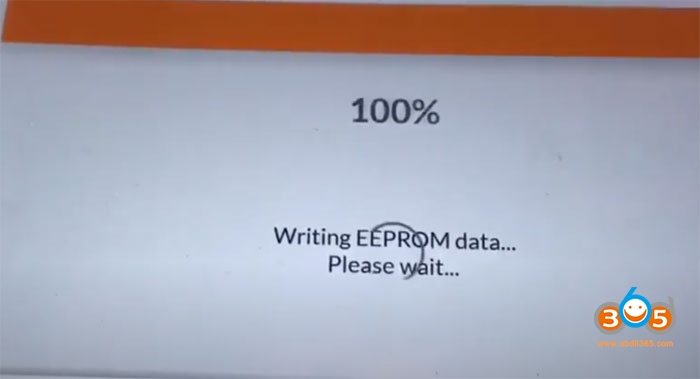
Wait until write eeprom data completed.
Clear codes in the vehicle.
Reinstall CAS and ECU into original state.
Done.


