Opel diagnostic interface Opcom firmware V1.65 and V1.7 with real PIC18f458 chip are available at obdii365.com.
Software version: VAUX-COM 120309a (2010V and 2014V optional)
Operating system: Windows XP/Windows 7
Firmware: Opcom V1.59/V1.65/V1.7
Language: English
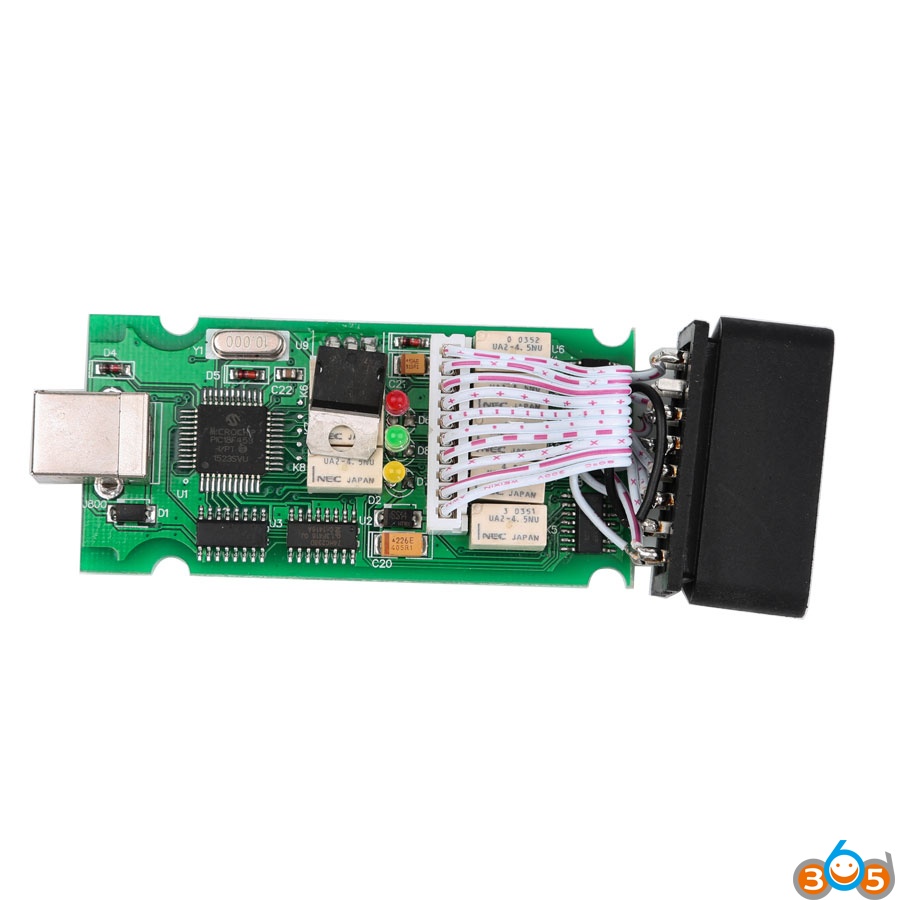
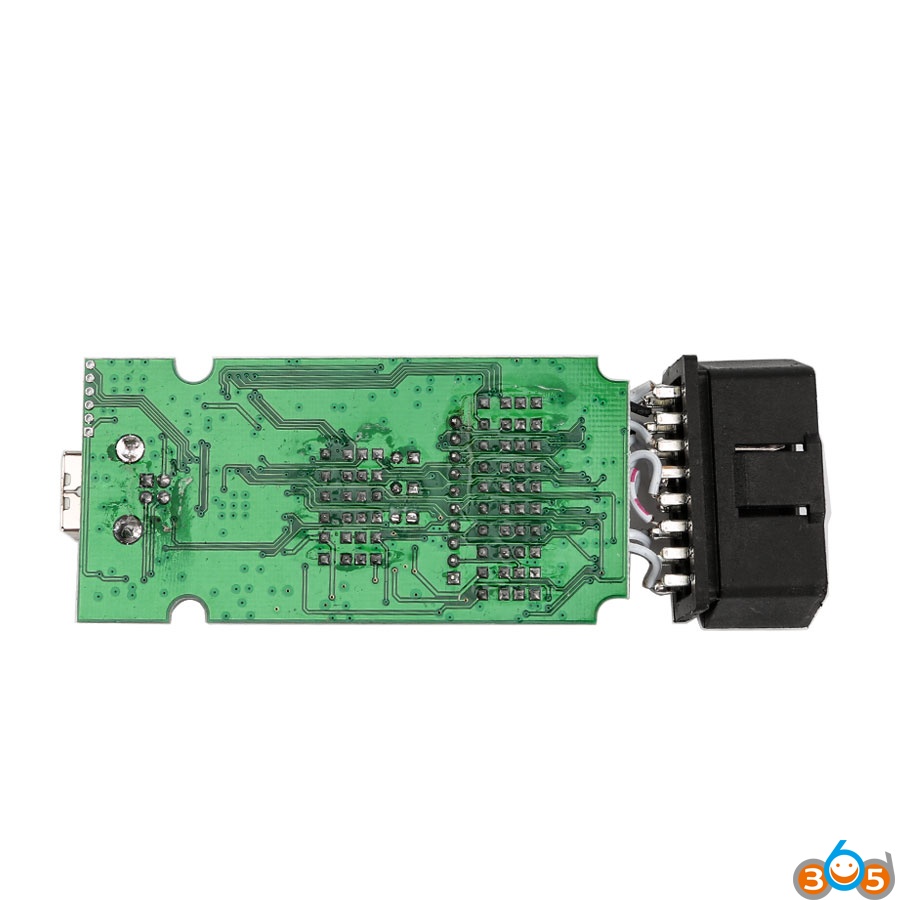
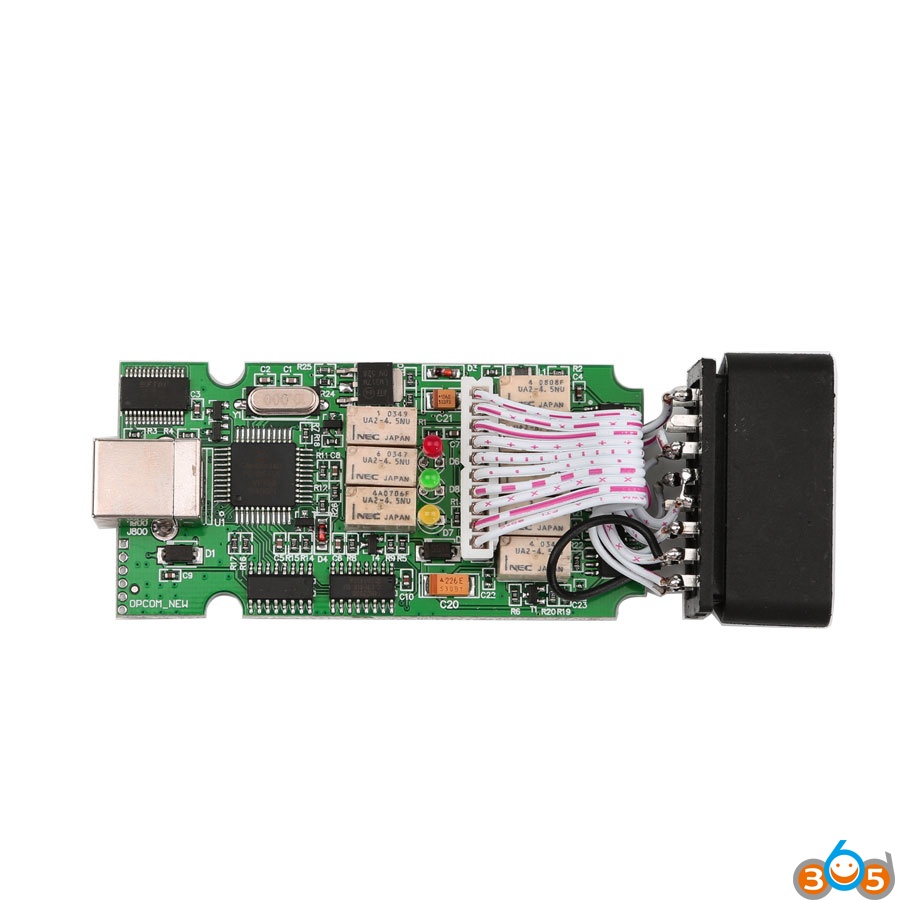
Opcom V1.65 PCB with dual-chip display:
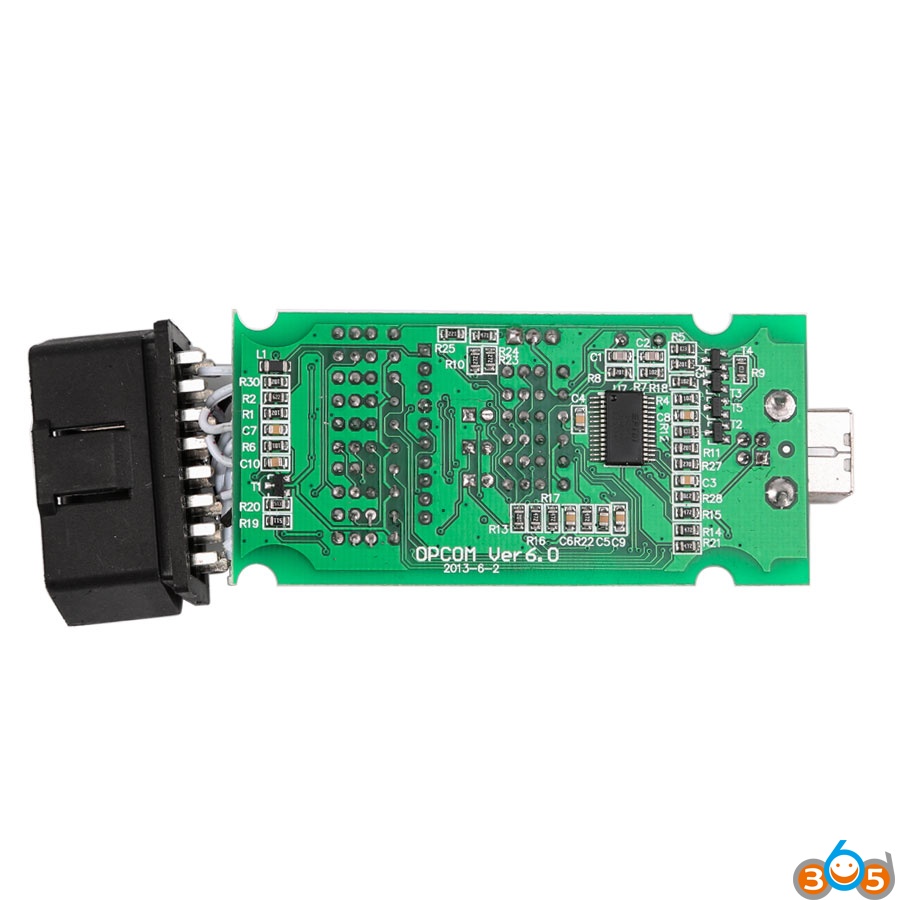
Opcom V1.7 PCB (Single chip as OEM op-com) display:
opcom software vaux-com 120309a download free:
https://mega.nz/#!sPBnlZqT!vzaV6dx66ol0Y3gDrWDSAYZFjtkoBJz0cEtmuXWeOFc
It’s a crack version
No password required
No need activation
VAUX-COM Win 7 install tips:
1) Never update opcom firmware/software.
2) Opcom 1.59, 1.65 and 1.7 software enjoy the same installation procedure
3) Run software as Administrator.
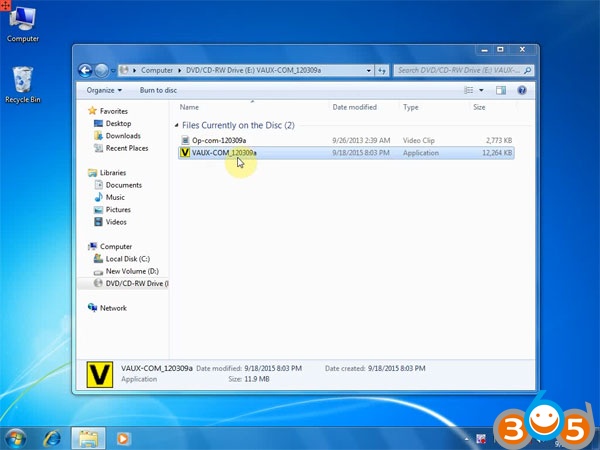
1. Install setup
Open VAUX-COM_120309a software folder
Open and run VAUX-COM_120309a Application
Accept license agreement
Save file to certain folder
Click “Install” to install software
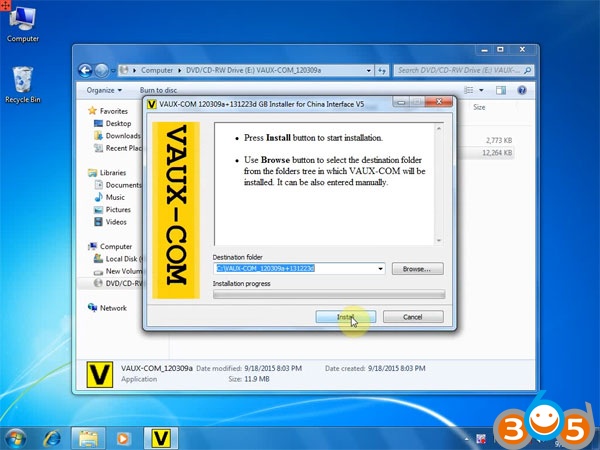
Installation progress, extracting file to C:/VAUX-COM-120309a+131223d file
2. Install Driver
Click “Extract” to extract FTDI CDM Drivers

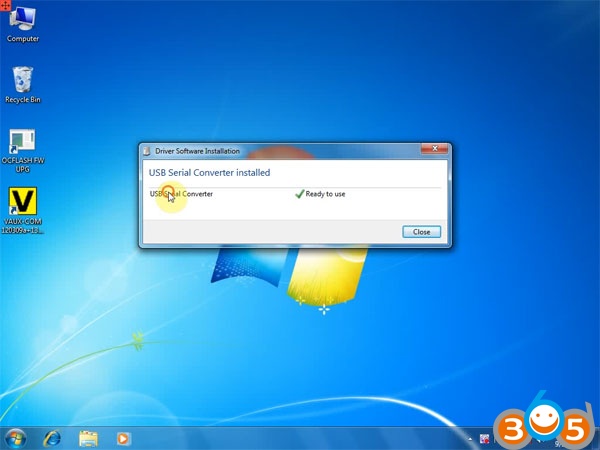
Connect op-com cable with computer, system will install driver automatically
Windows 7 will detect USB driver software
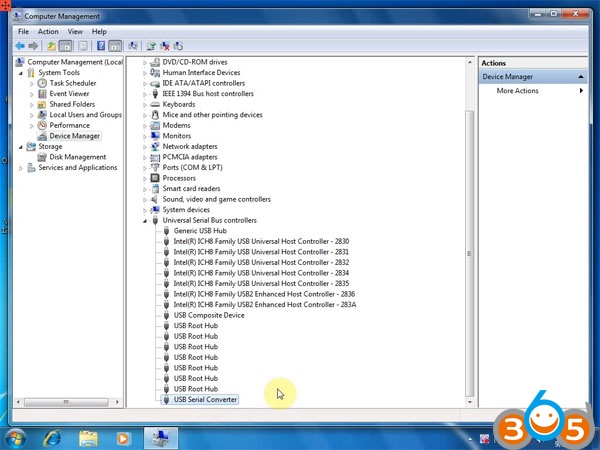
Right click Computer>>Manage>>Device Manager>>Universal Serial Bus controllers>>USB Serial Converter to check if opcom driver is well installed
3.Configure VAUX-COM
Right click VAUX-COM120309A+131223d GB software on desktop, select “Run as Administrator”

Loader has been installed into target
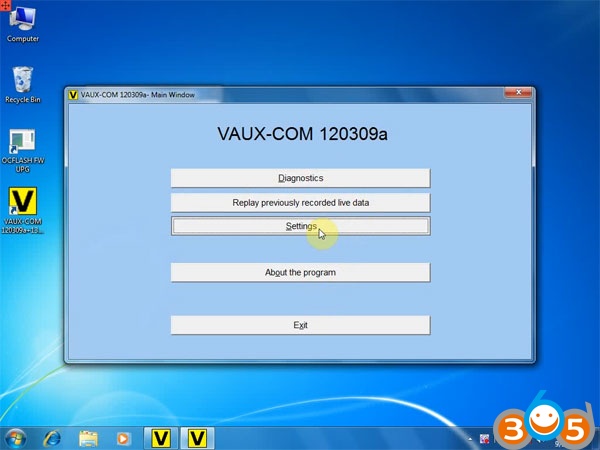
Open VAUX-COM 2012V software
Click “Settings” option
Select Interface type: VAUX-COM Revision B, B+
Then click “Test Interface” button
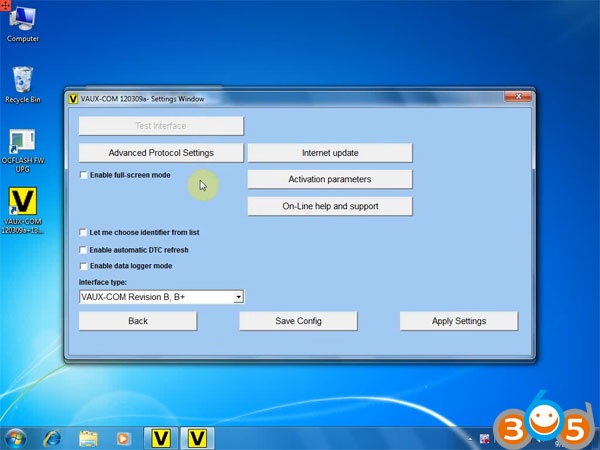
Then software will display firmware version, interface test ended successfully
Press “Save Config” to save settings
Press “OK”
4.Diagnose with OCPOM
Connect Op-com cable with vehicle
Back to VAUX-COM main menu
Select “Diagnostics”
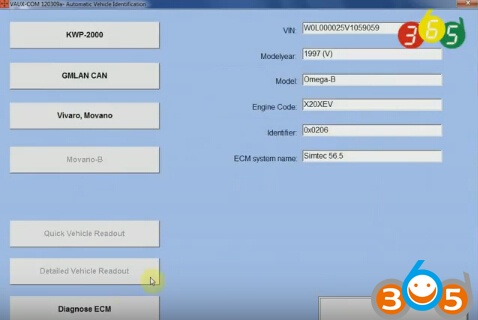
Select “Automatic Vehicle Identification”
Select “KWP-2000” and diagnostic connector
Open will auto detect and display vehicle information
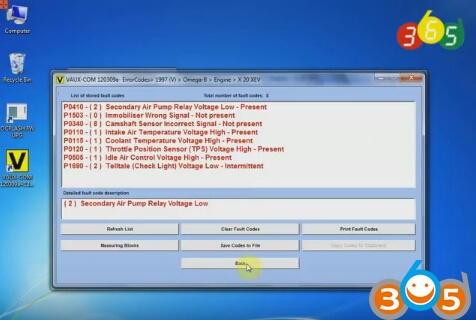
Start to diagnose your vehicle.