


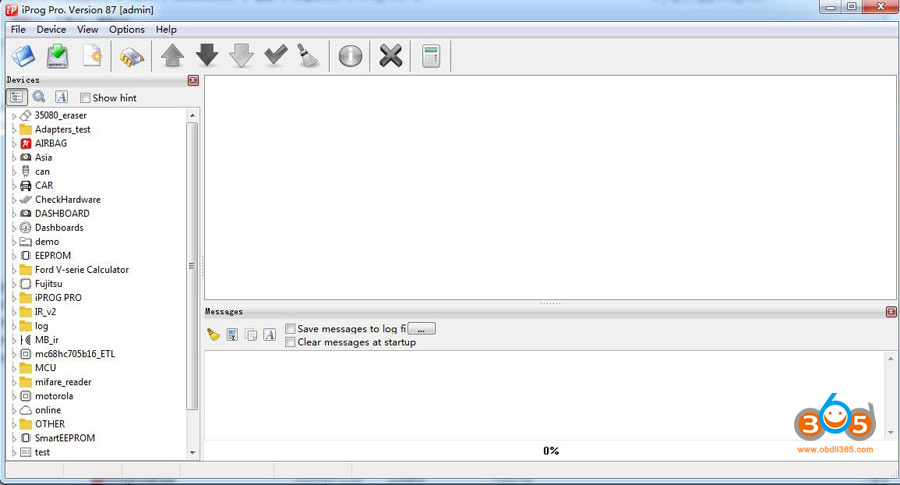
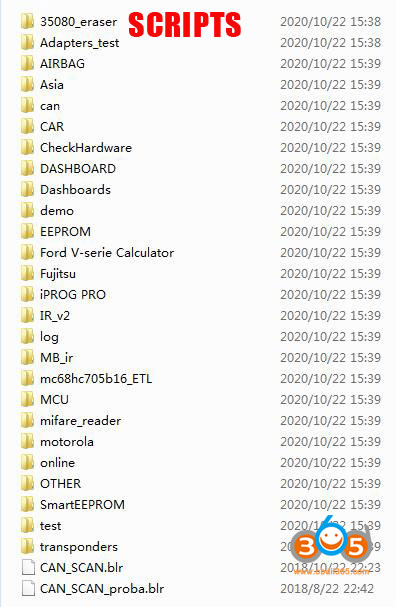
iProg clone programmer latest software V87 has been tested and verified working with no issue by obdii365.com engineer. Version doesn’t matter, scripts are important. V87 adds many scripts, all can be found from the download link.
Language: English, Russian
Operating system: WinXP, Win7, Win8 and Win10
Function: airbag, dashboard, car radio, ecu, eeprom, immo, mcu, DPF off and special functions
Iprog+ supports IMMO and airbag reset function till year 2019 better than Carprog Full clone
Free download iprog v87 software
https://drive.google.com/file/d/16vRmlHgu5GWmd_cMgpTzwyT8P1dA_GBy/view

File including:
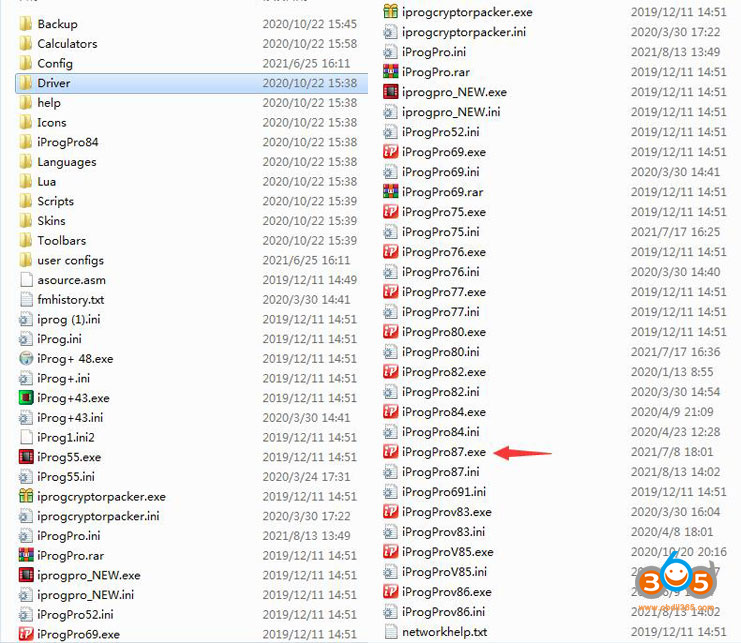
Scripts
iPROG+ can only be connected to the computer via USB port 5V. NOT allowed connecting with external 12V power supply.
If the computer can not detect driver and device manager shows unknown device that means the driver is not working properly, please uninstall and re-install driver again and change another usb port.
iProg+ vs. iProg Pro (or iProg+ Pro)
iprog+ is old device and has canceled production. iprog PRO supported all old scripts and calcs also now have new scripts language and own IDE, have add LUA language for calculators. Supported JTAG protocol. New device now faster, have more space for scripts and more other. And with new adapters for new things. Our iprog clone are all iProg PRO devices.
How to Install iprog software on Windows 7? (same procedure as V85)
FYI: How to write scripts?
For those who want to learn how to write these scripts here’s write up a bit of a guide, (If you have coded in C before you should be fine)
The .Cal Files can be opened with any old text editor e.g. Notepad, and read off as a script in what i think is Visual C Coding,
The scripts are broken up to 3 parts, “Form”, “OnShow” and “OnApply” With the size and the location of the calculator presented above,
Location:
e.g. [Dashboard\Toyota\Corolla\Corolla 95c56]
when you click on calculators it will have the folder dashboard, inside is a folder called Toyota, inside that a folder called corolla, and finally a calculator called “Corolla 95c56”, This location in no way has to correspond to the physical location of the file, and when you select the file the true file location is show.
Size:
e.g. Size(280,250);
Determines how bit the window will be, the first value is the width or X Axis, the second value is the length or Y Axis,
Form:
Form controls the windows size and arrangements of the fields and other things that the data is to be shown or modified in.
Inside the form you can choose from a few basic objects, The ones i know of so far are:
– Group(“Text Description”, X Offset, Y Offset Pixels, Width, Length) Groups Sub Objects Together placing a single pixel border around, and All sub group item positions are in reference to the group
– Checkbox(Variable,”Text Description”, X Offset, Y Offset) Ticked or un-ticked, Value of 0 for unticked, 1 for ticked
– Combobox(Variable,”Text Description, X Offset, Y Offset, Width, “Choice 1”, “Choice 2″…) Provides a drop down list of options to choose from, e.g. selecting between V6 or V8 Starts counting from 0, so first choice returns 0,
– Label(Variable, “Default Text”,X Offset, Y Offset) Places Text on the window, can be preset or modified by onshow or onapply
– Picture(Variable,Image File Name, X Offset, Y Offset, Width, Length) Displays a picture scaled to whichever size, leaving scale to 0 shows original size
– Digit(Variable,”Default Value”, X Offset, Y Offset, Width) Provides a number box of sorts that you can display numbers or values in or enter them yourself to be used in some way
– HexDigit(Variable,”Default Value”, X Offset, Y Offset, Width) Same as digit but allows Hex Values
OnShow:
This runs once and only once when you open the calculator, so any information that you want updated after you hit apply will need to be added to OnApply (such as reading back the just calculated odometer value (when your new at it, this is a good thing to try)
Most of this section revolves around Variables and physical memory locations, so first off var’s you initialize them by writing e.g “Var1 = 0;” Now you have variable 1, assigned to a value of 0, be warned however that when writing to an eeprom location they become cropped to the lowest 8 bits, e.g. 0x84C2 becomes 0xC2, this is why you see e.g. Var1 >> 8 , this shifts the value along 8 bits so you can access the next 8 bits,
Next up is a physical memory location, they always start with “@” so if you where wanting to grab the eeprom bin file value from location 0xC5, you would assign a variable to @0xc5, or @0x0c5, etc, (leading zero’s do not change the location)
you can also change the text and colour of text shown in labels using in the form section:
Variable.Color = 0xFF0000; Would turn the text blue, 0x00FF00, would turn it green, and 0x0000FF would turn it read,
Variable.Bold = 1; Makes Text Bold 0 turns off bold (I am guessing the same is for italics but have not checked)
Variable=”New Text”; Replaces the text with the New Text.
Few Key things are short of If, While and Group, (And Form Onapply and Onshow) all functions must end with a ;
OnApply:
Essentially anything you can do in onshow you can do in onapply, however this will run whenever you click on the apply button,
There are a few small bits i have missed such as how other scripts have presented Vin’s, this is only because i have not yet used it to nut it out,
Hope this helps spur on some new scripts.


