


OBDSTAR X300 Classis G3 has two ways to program VAG 4th generation immobilizer all keys lost- via VW04 AKL pogo pin cable and via service mode by dump.
Obdii365.com here shows the second way- the safest option is to safely enter the dashboard service mode via the EEPROM.
Tools used:
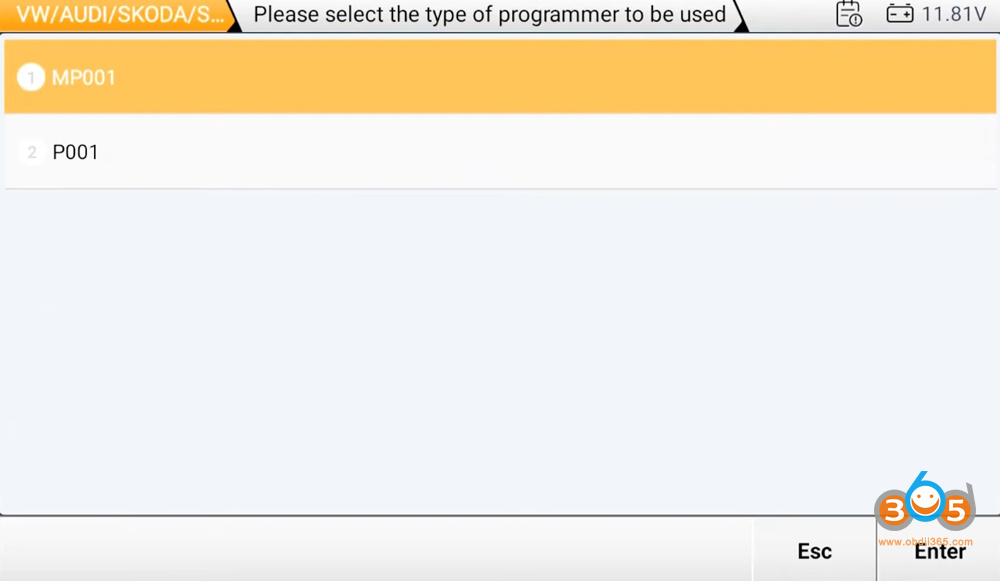
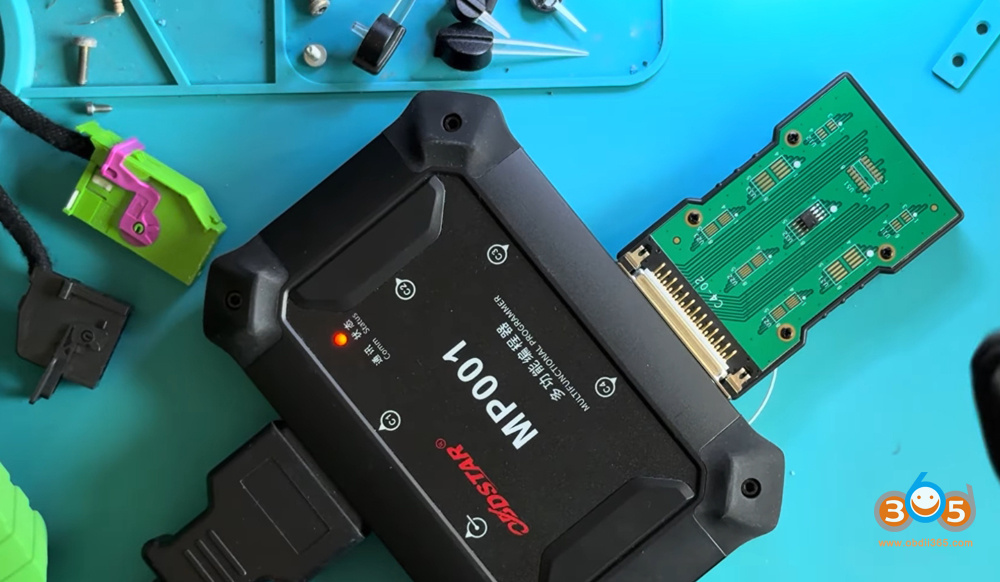
- MP001 programmer
-
A custom adapter with a 15th terminal switch (to control ignition on/off)
-
An antenna ring (to place transponder chips directly on the workbench)
-
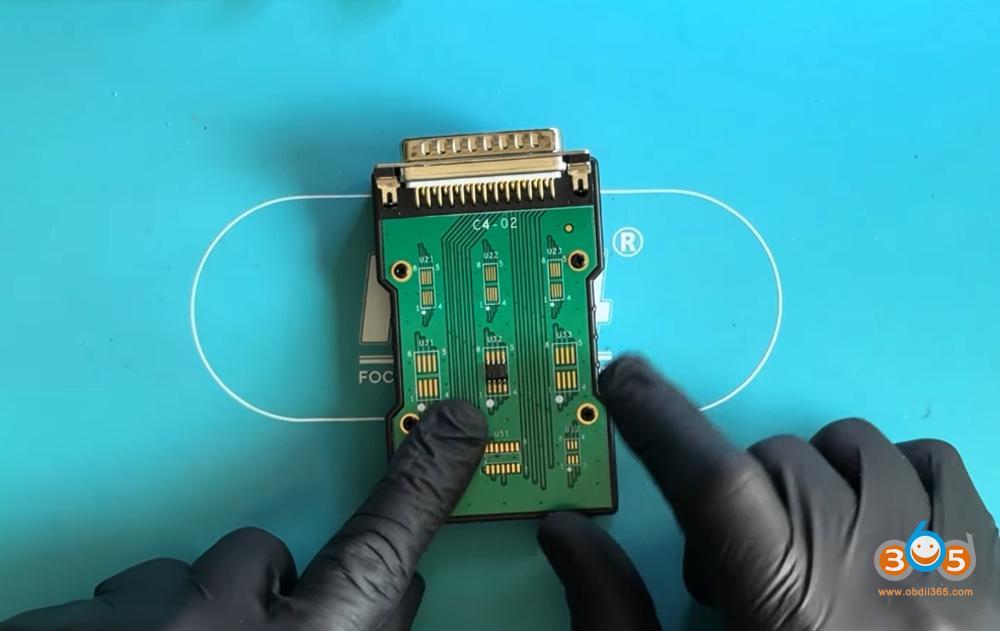
C4-02 or C4-01 programmer adapter
-
Hot air station and soldering iron
-
Aluminum tape (to protect nearby components)
-
Flux and solder
Procedure:
Step 1 – Connect and select vehicle
Connect the OBDSTAR G3 to the dashboard.
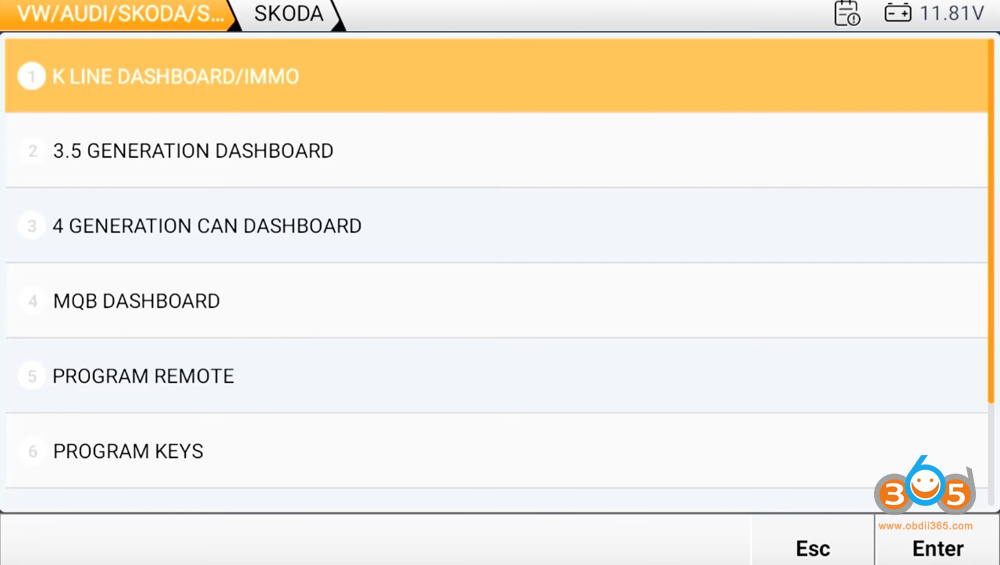
Select the 4th generation dashboard (IMMO 4 / VDO NEC+24Cxx).
The device will check for an internet connection and proceed.
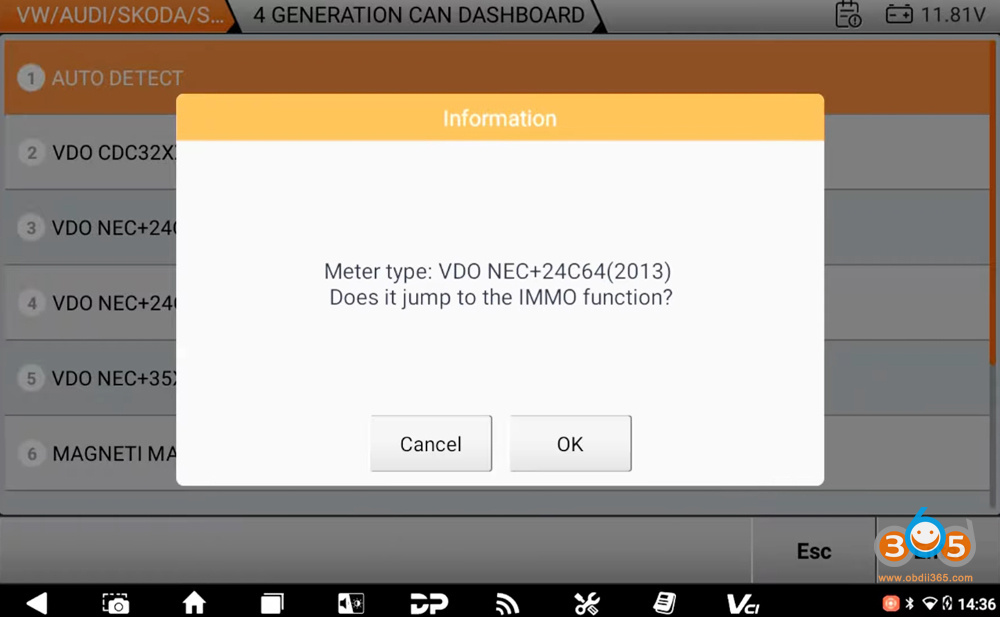
Auto detect cluster type.
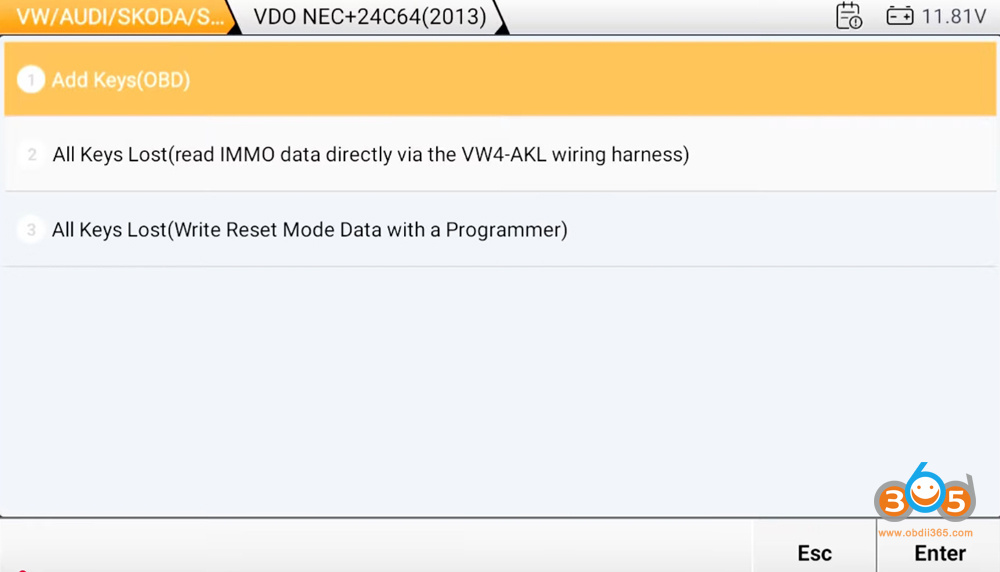
Choose the option: Write Reset Mode Data with Programmer- MP001.
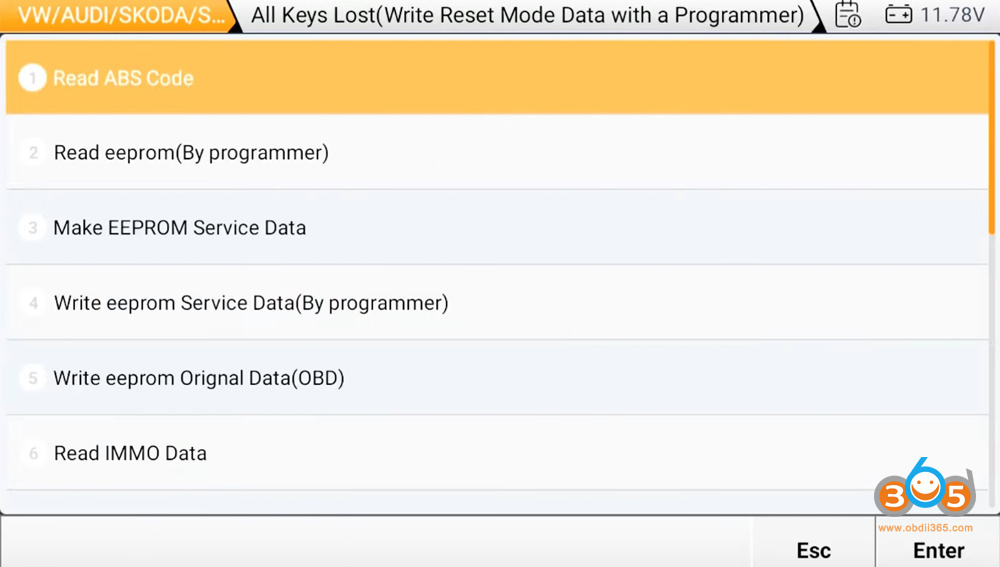
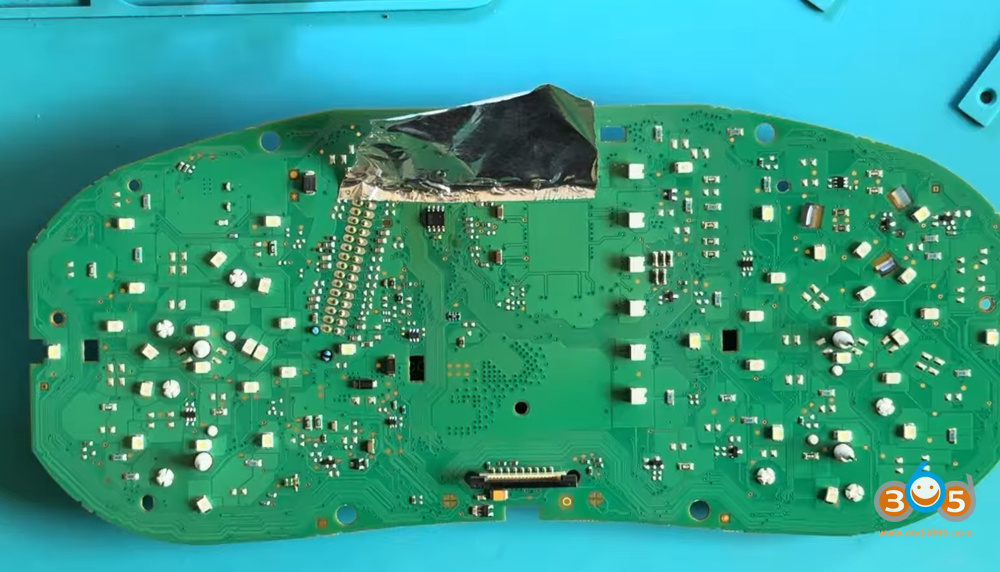
Step 1 – Removing and Reading EEPROM
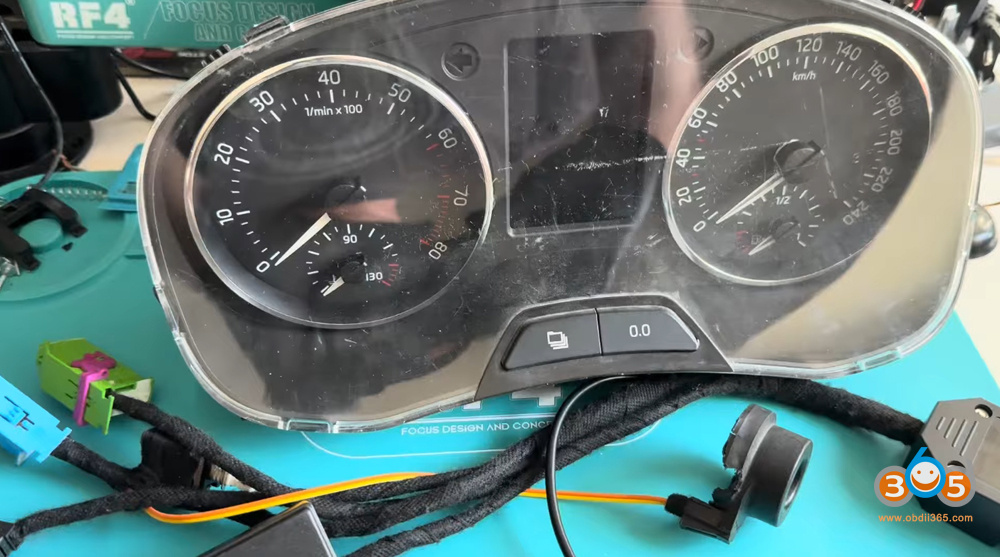
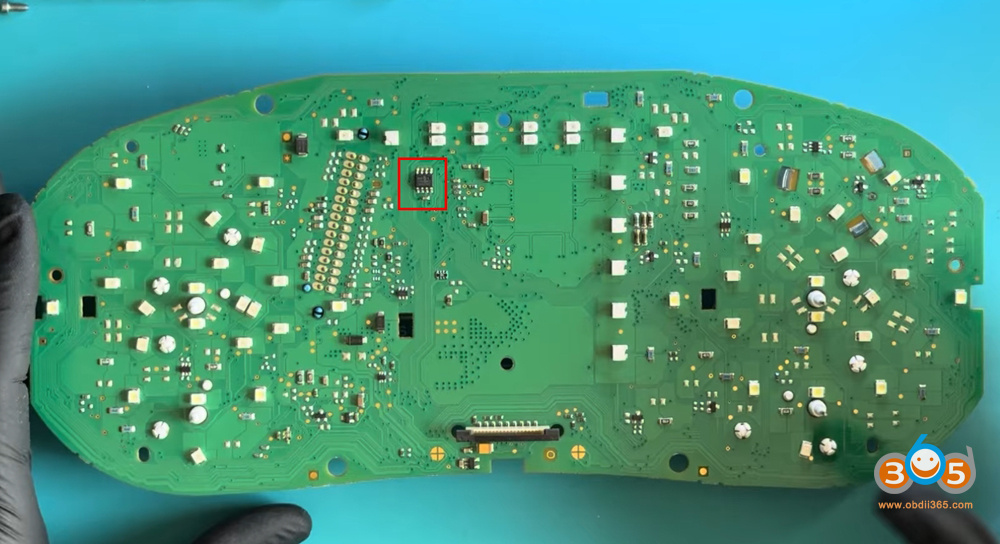
The IMMO4 data is stored in an external EEPROM chip on the instrument cluster’s PCB.
-
Removes the cluster and locates the EEPROM.
-
Protects nearby diodes with aluminum tape.
-
Uses a hot air station at approximately 320°C, heating the PCB pads (not the chip directly).
-
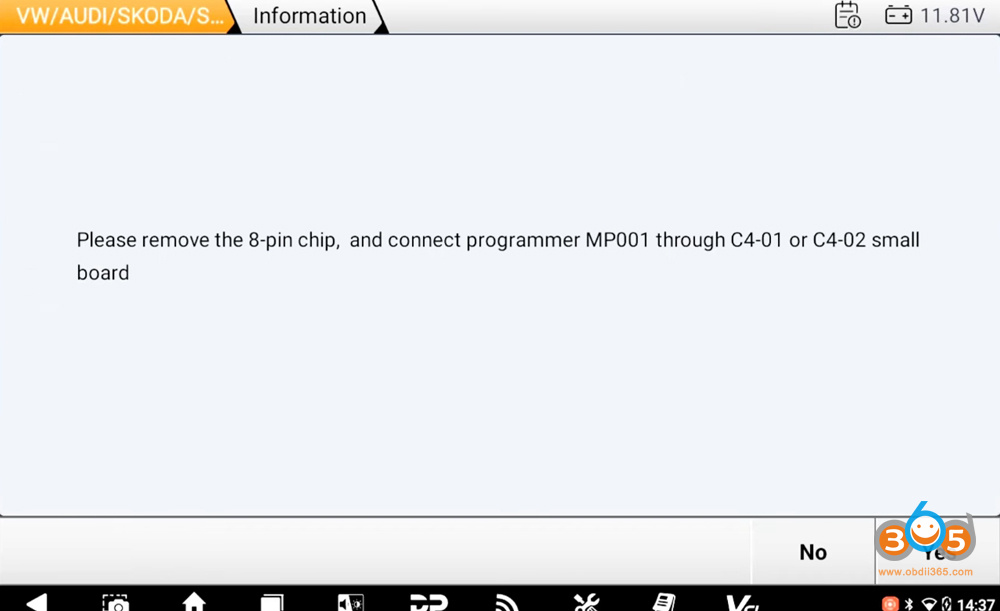
Lifts the chip and places it into a C4-02 adapter, matching pin 1 orientation. Align the chip correctly (pin 1 marked with a dot). Add a bit of flux and solder it securely to the adapter.
-
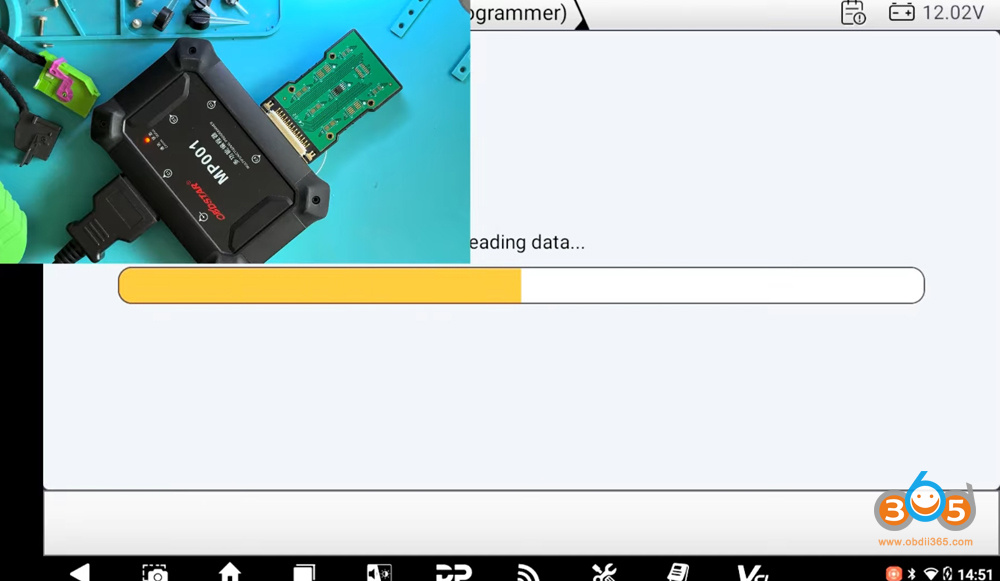
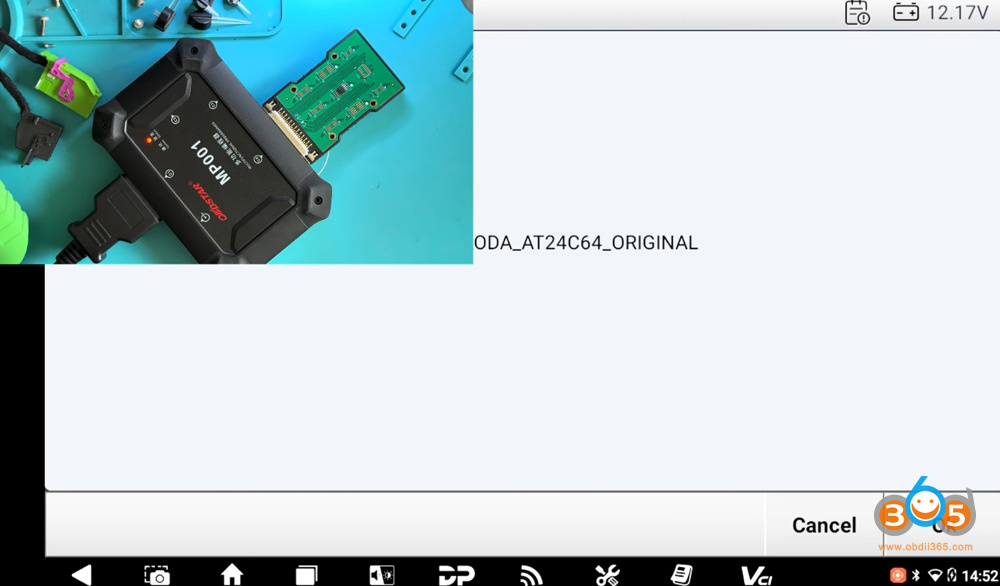
Reads the original EEPROM data using the programmer and saves a backup.
Tip: Always photograph the chip orientation before removal to avoid incorrect reinstallation.

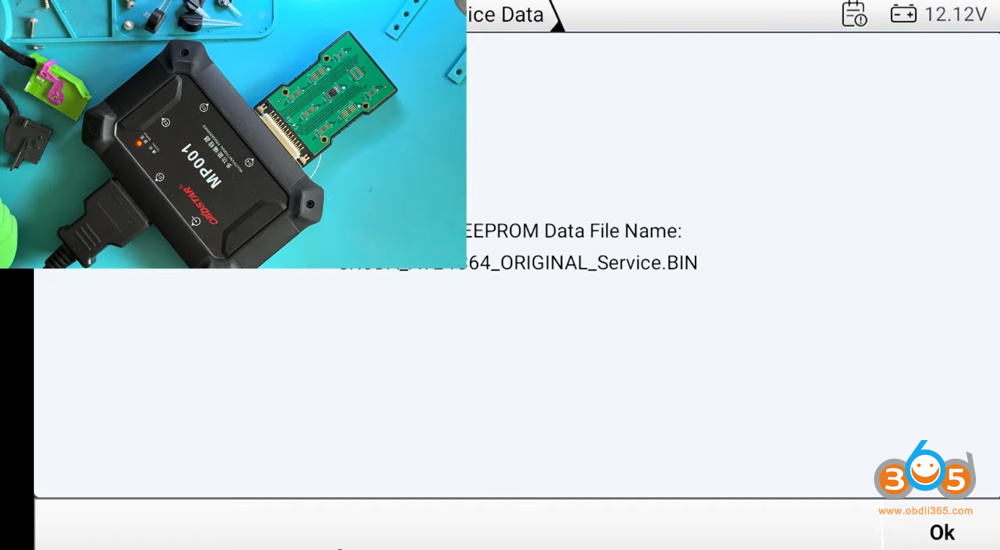
Step 3 – Creating a Service Mode File
-
Using the software to generate a service mode file from the original EEPROM dump.
-
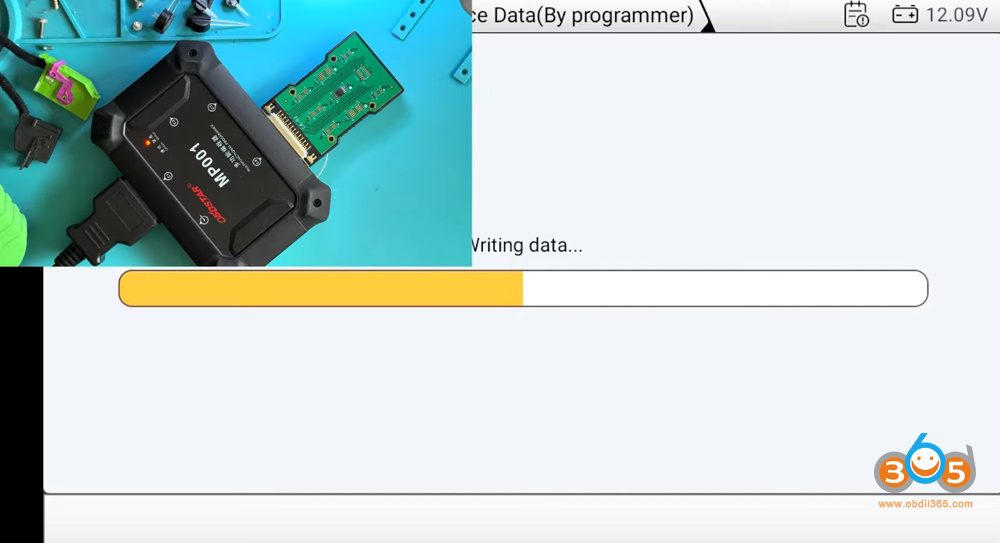
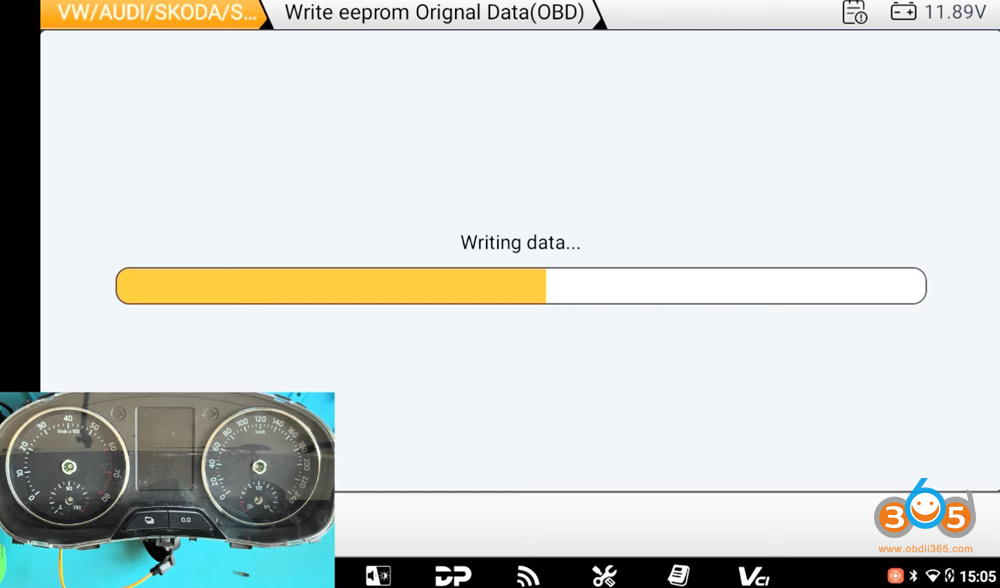
Writing this modified file back to the EEPROM using the programmer.
- Reinstall the chip onto the dashboard board.
- Clean up any flux residue afterward — aggressive fluxes can damage the board over time.
- Reassemble the cluster (you can skip reinstalling the needles/arrows at this stage, as they are not needed yet).
This forces the instrument cluster to enter service mode without needing an original key.
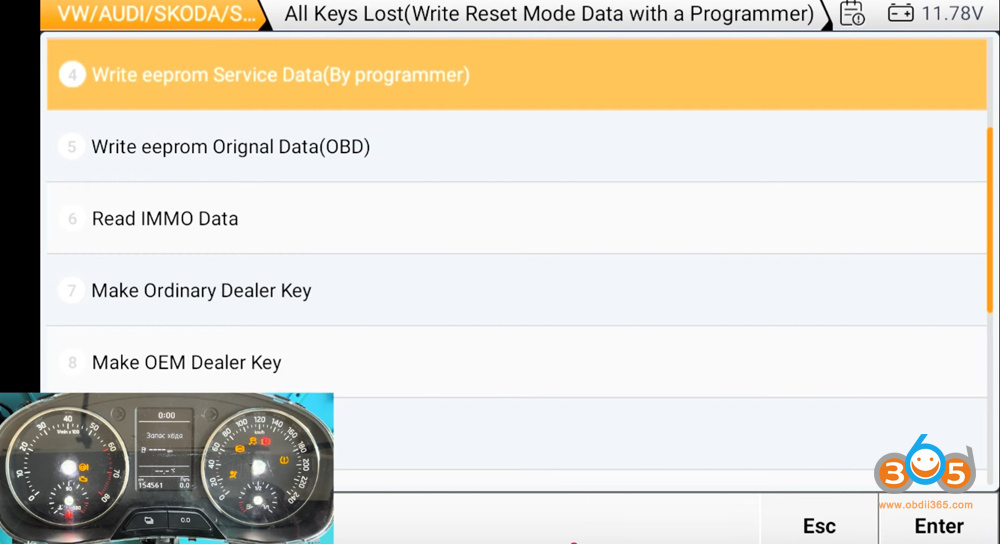
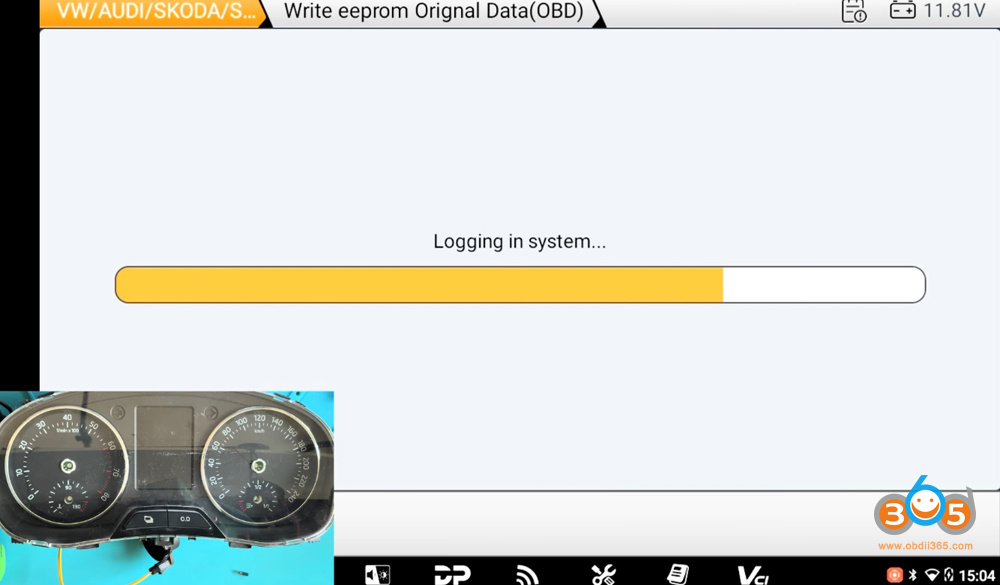
Step 4– Power Up and Enter Service Mode
- Reconnect the adapter and power the dashboard.
- The cluster should light up normally.
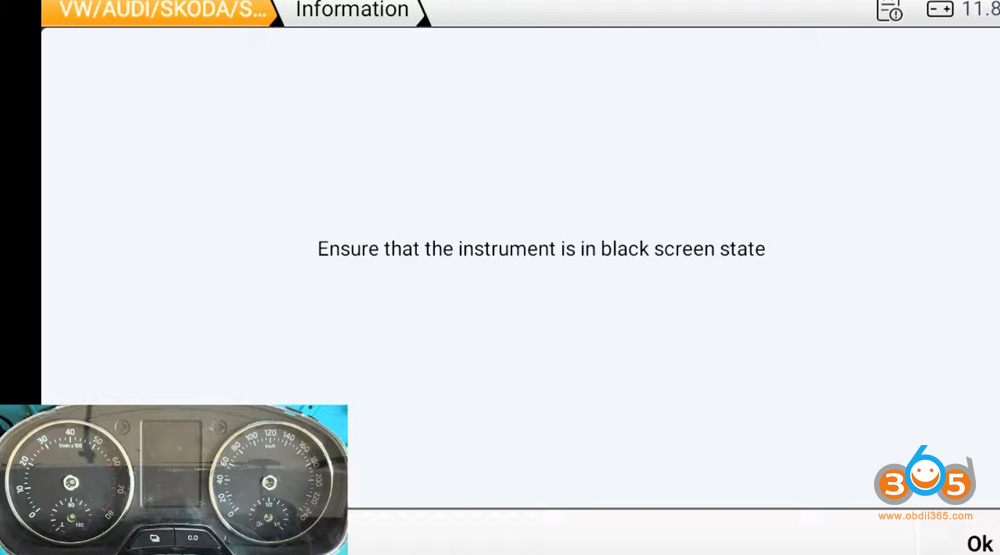
- Connect the immobilizer antenna ring and turn on ignition via the switch.
- Via OBD, the dashboard will enter service mode (screen goes black or shows service indicators).
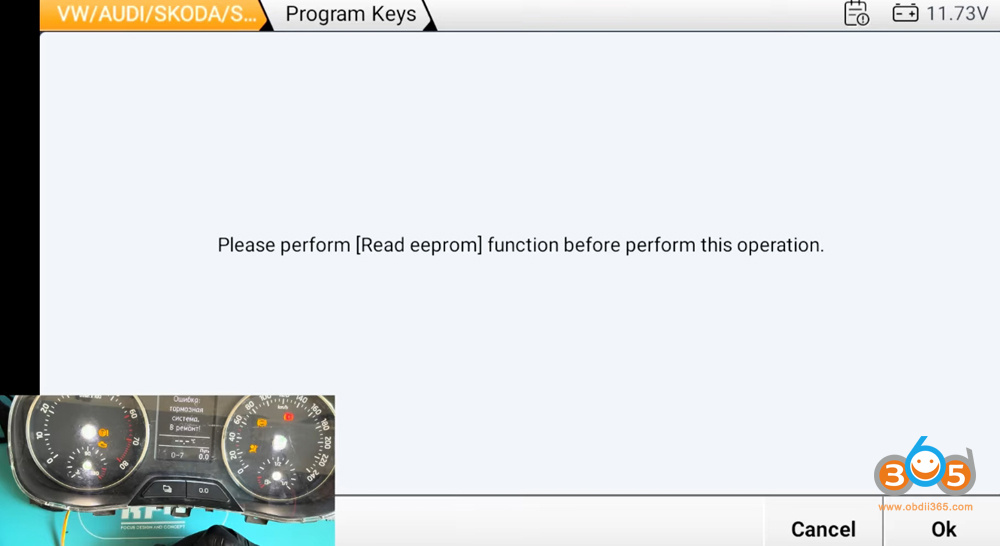
- Load and confirm the original EEPROM data if prompted.
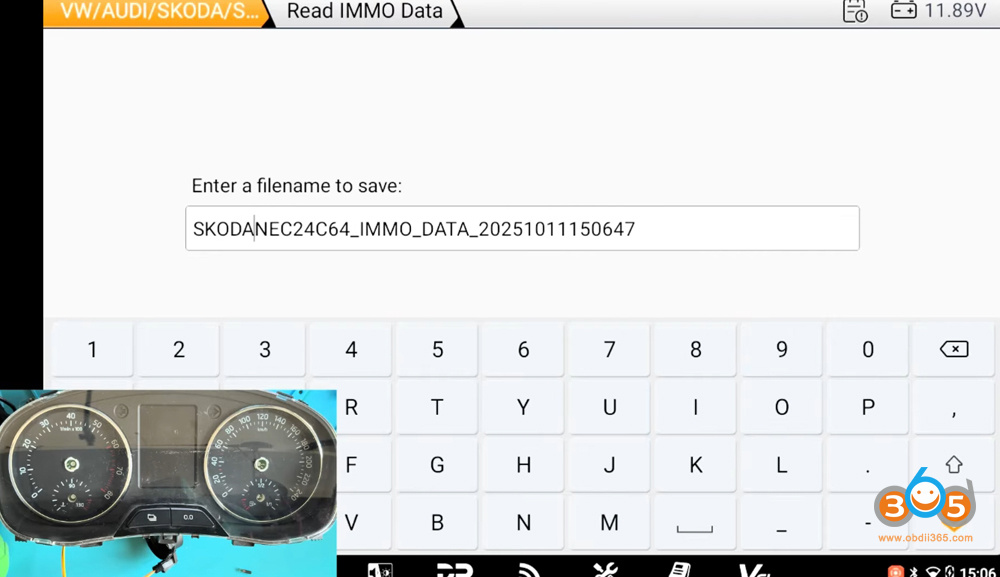
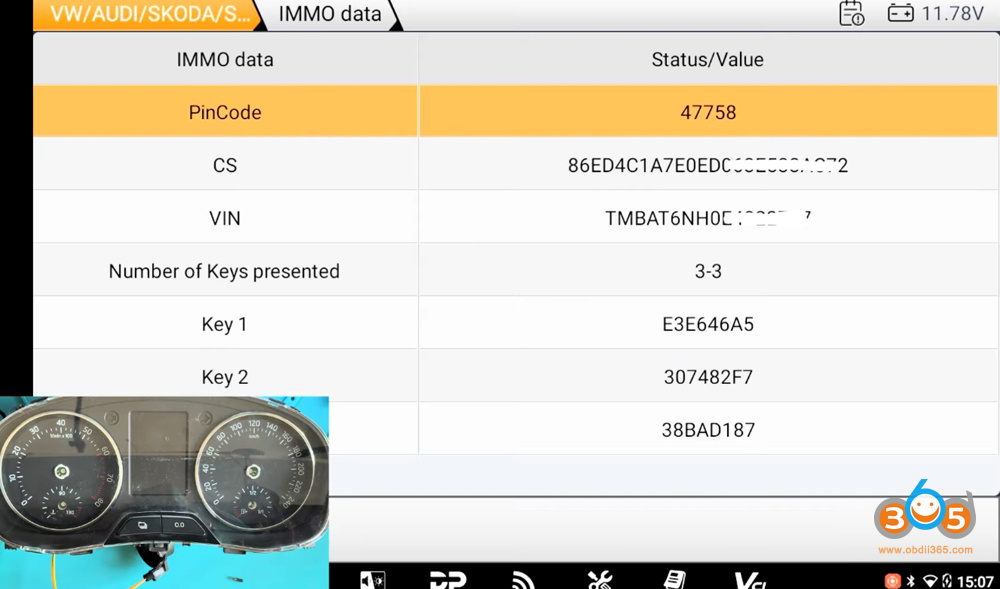
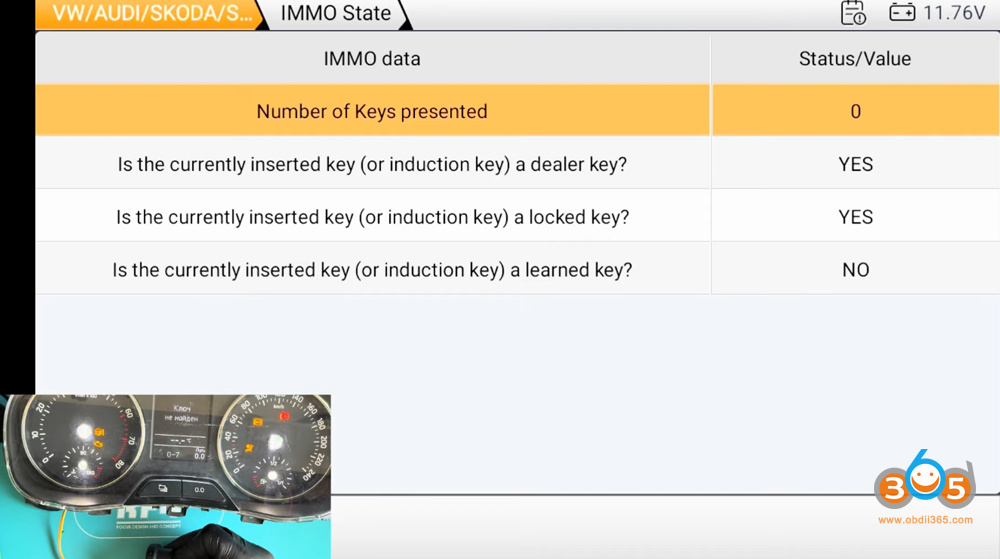
- With the cluster in service mode, read the IMMO data.
- Save the file with a descriptive name (e.g., “Dealer Keys”).
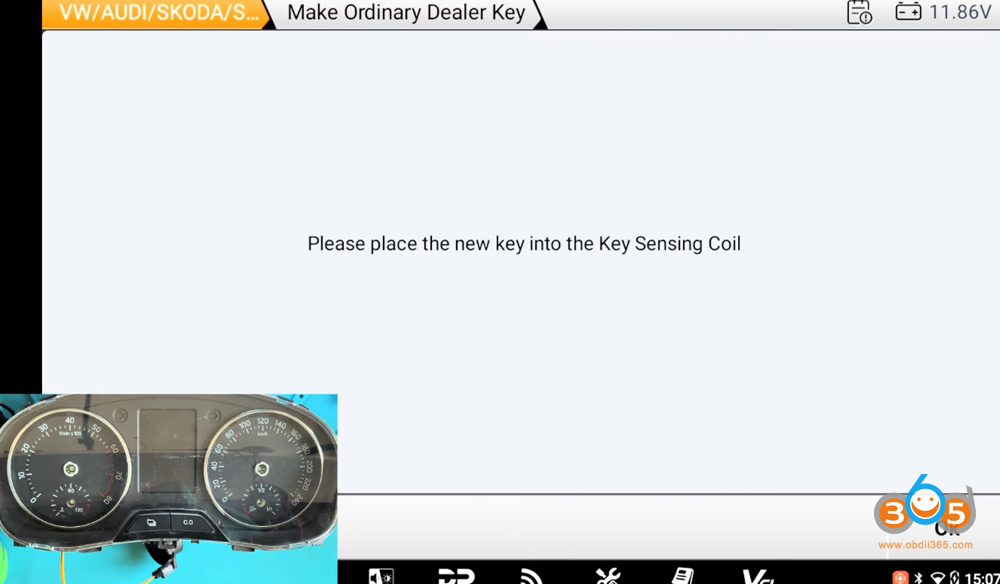
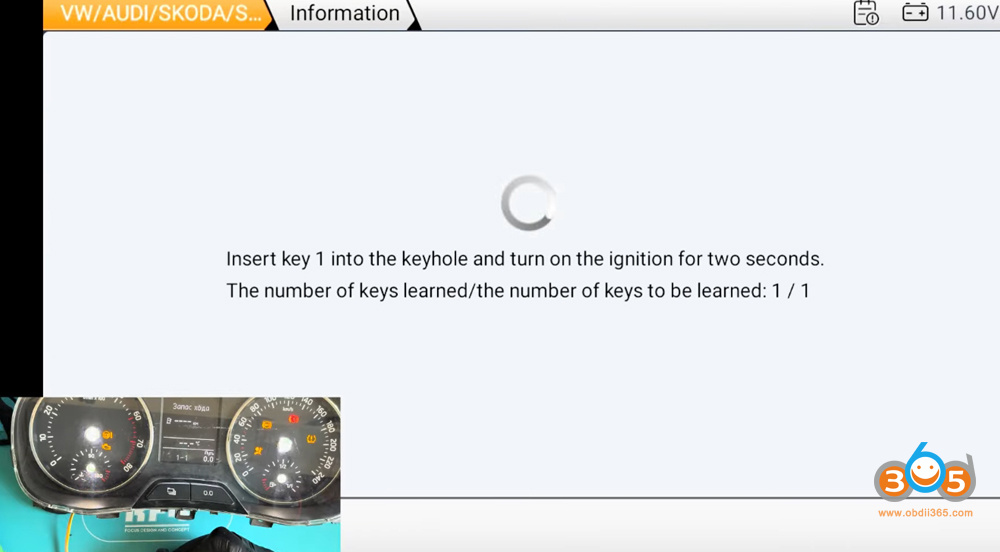
- Place a blank transponder chip on the antenna ring.
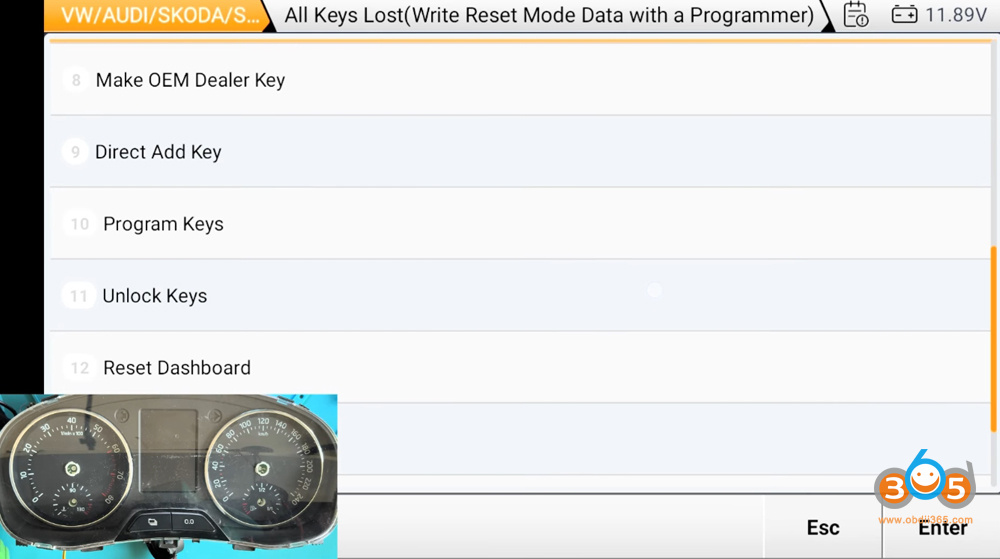
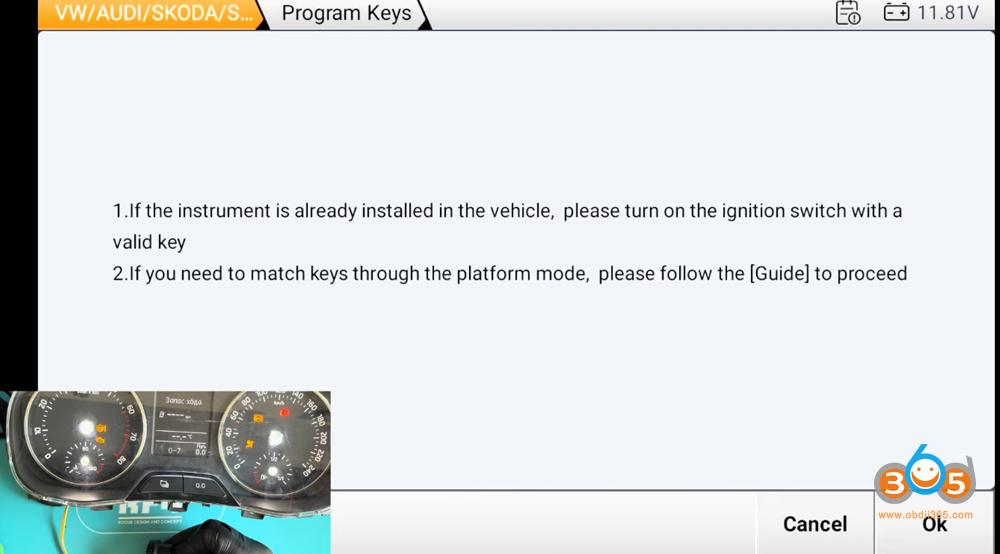
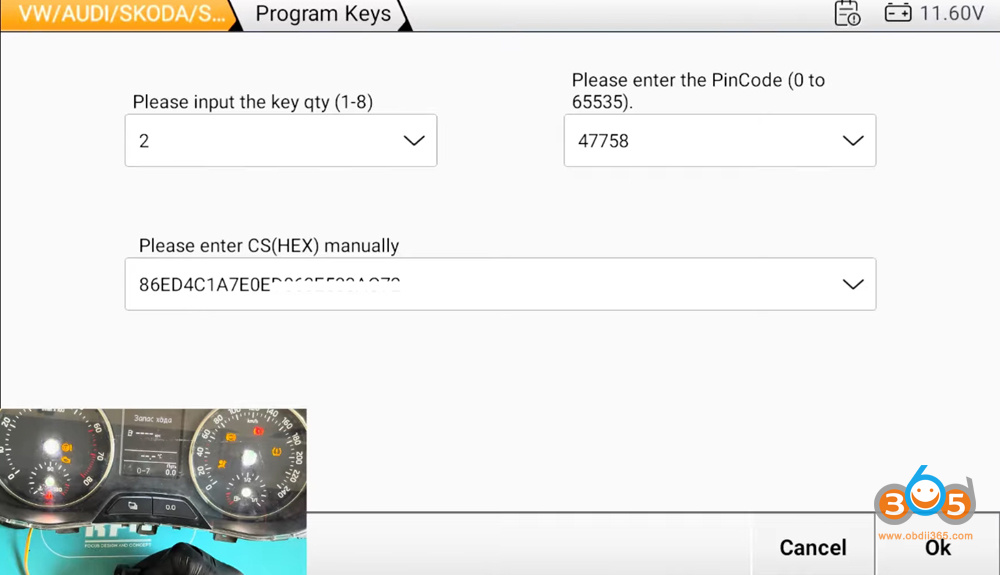
- The OBDSTAR G3 will generate and program a dealer key for the vehicle.
You can check the key status and verify that it has been added successfully.


Step 6 – Testing the new key
- Turn ignition off and on with the new key chip placed near the antenna.
- In some cases, the procedure may need to be repeated or performed slightly differently (e.g., treating it as adding one key to an existing set).
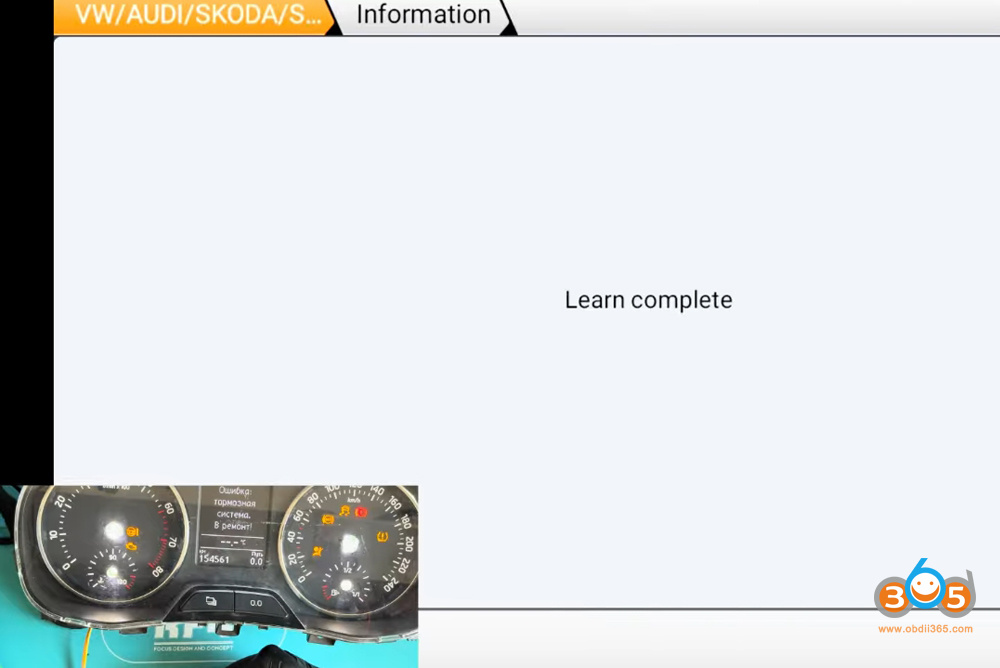
- Once completed, check the IMMO status — the key should show as active.
- Note: On the bench, the engine ECU is not present, so the key may not fully authorize starting. However, when installed in the actual vehicle, the dashboard and key will work normally.
At this point, the cluster is ready. You can reinstall it in the car, add additional keys if needed, and complete any remaining programming.
The method shown works for almost all VAG IMMO 4 instrument panels (VW, Audi, Škoda, SEAT) of this generation.
Easier Adapter Option:
If you have the C4-01 adapter (or similar clip-style adapter), you can simply clip the EEPROM chip without soldering. It’s slightly less secure but much faster and works reliably for many technicians.


