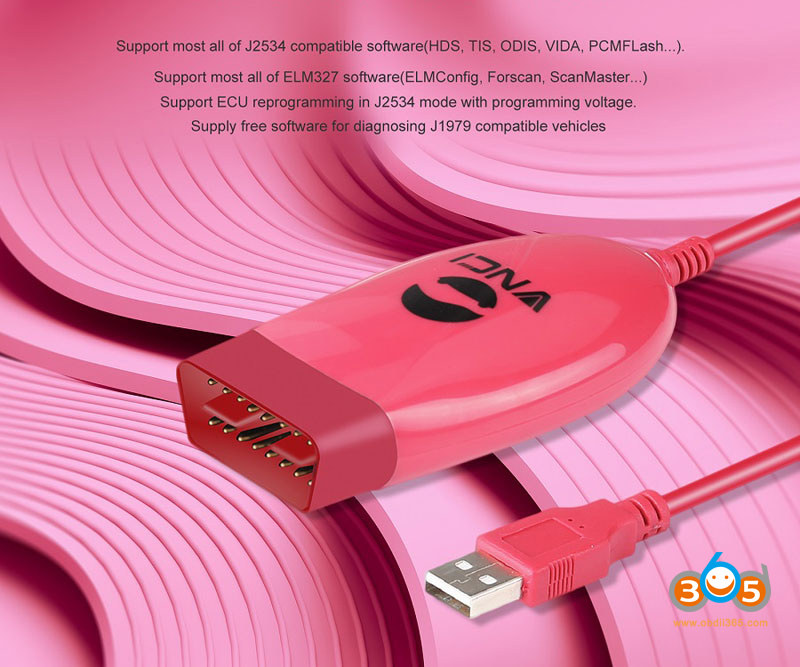
VNCI NANO (Vehicle Network Communication Interface) or the Godiag j2534 (black color, they are the same) is compatible with J2534 Passthru (HDS, TIS, ODIS, VIDA, PCMFlash etc) and ELM327 software (ELMConfig, Forscan, ScanMaster etc)
Obdii365.com technician has tested 6 software with VNCI NANO/Godiag J2534 device, including
1.ODIS V9.0,
2.TIS Techstream V17.00,
3.HDS V3.102,
4.FORSCAN V2.3.48
5.PCMFLASH V1.2.0
6. SCANMASTER V2.1
More remains to be tested.
Here is the instruction to set up each software with VNCI j2534 or Godiag j2534 interface.
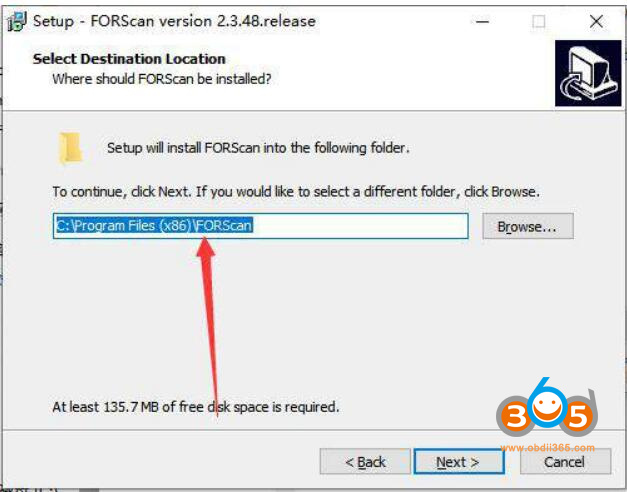
Do not change the installation path of all software during installation. By default, they are installed on the C drive. The specific operation methods of all software are in the pictures below.
For software mentioned below, contact obdii365.com customer service to get download resources.
All software requires to install the VNCI NANO driver to use.
Download VNCI NANO Driver
I. Install Honda HDS for VNCI NANO
Download and Unzip HDS software folder
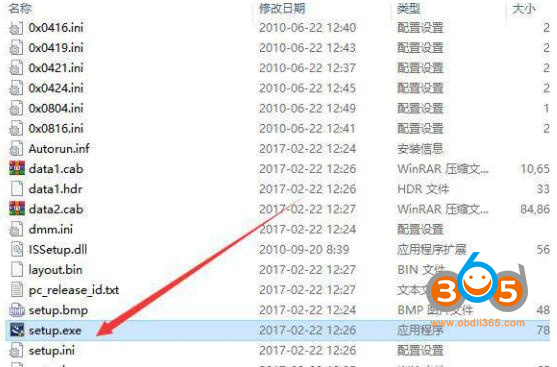
Open the folder, doule-click to run setup.exe
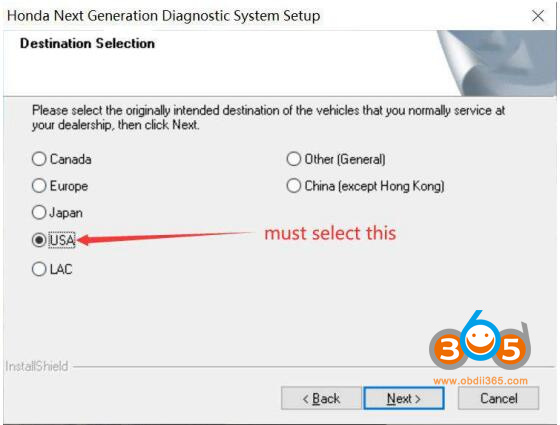
3. When software ask to select a region, the North America region must be selected
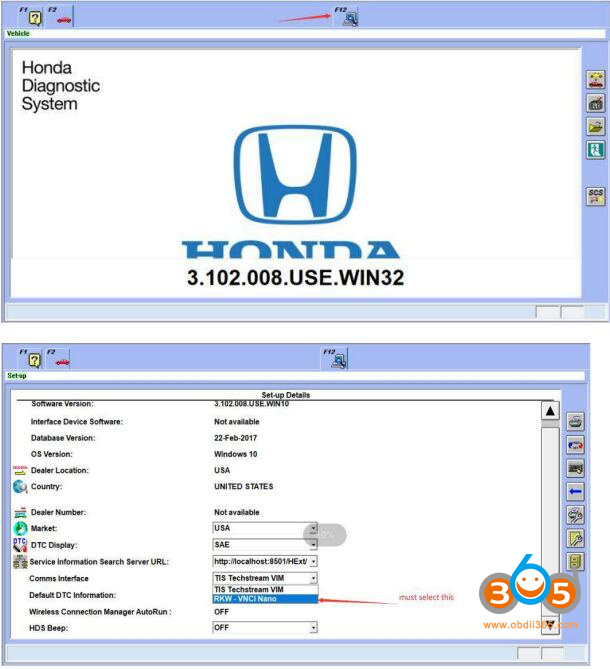
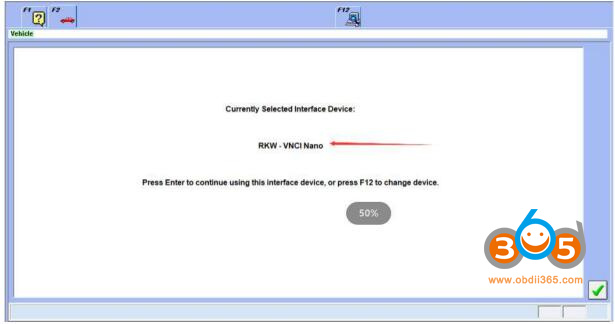
4.After the installation is complete, the first time you run the HDS software, you need to change the interface settings to use the VNCI NANO device.
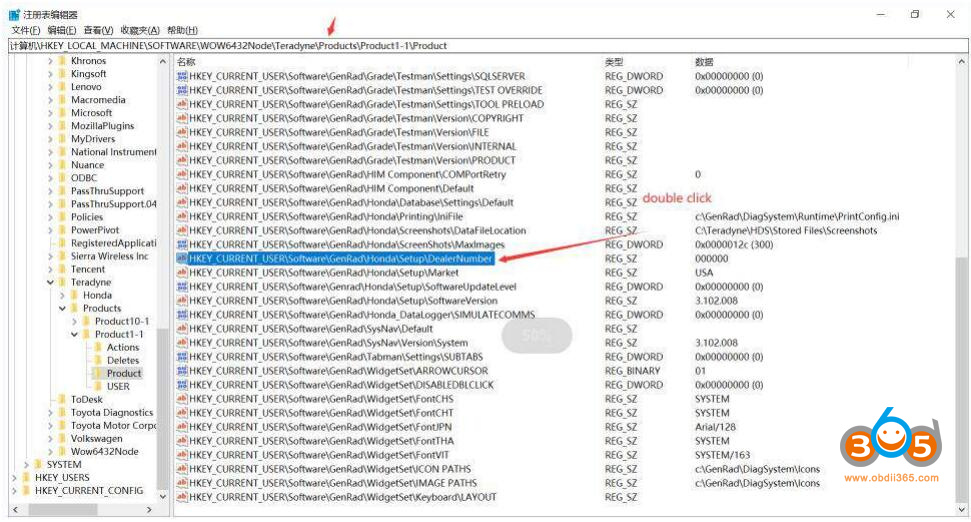
6.For customers who need to use the HDS immobilizer function, they also need to change the registry information before they can be used.
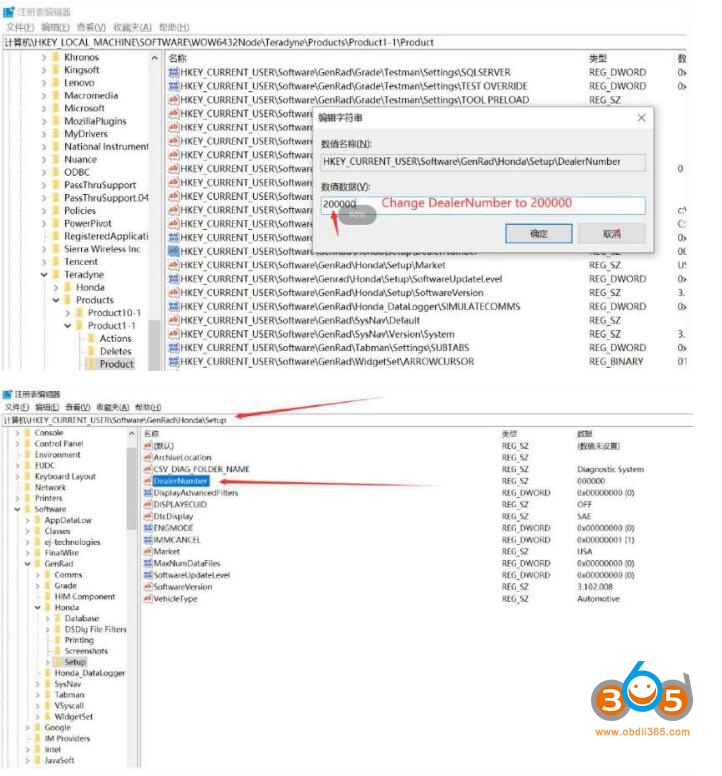
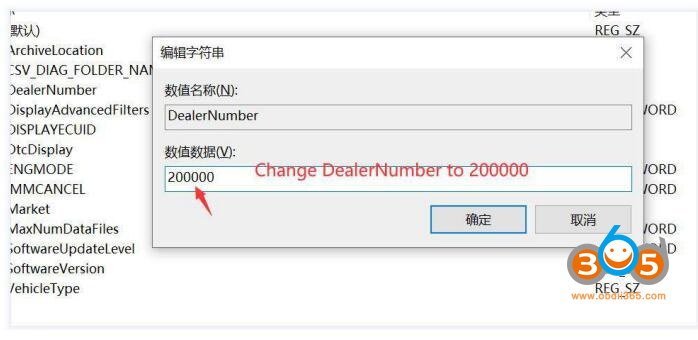
Operation steps: Search regedit on the shortcut bar of the computer and enter the Registry Editor, find: the corresponding directory Change the dealer number value data to 200000
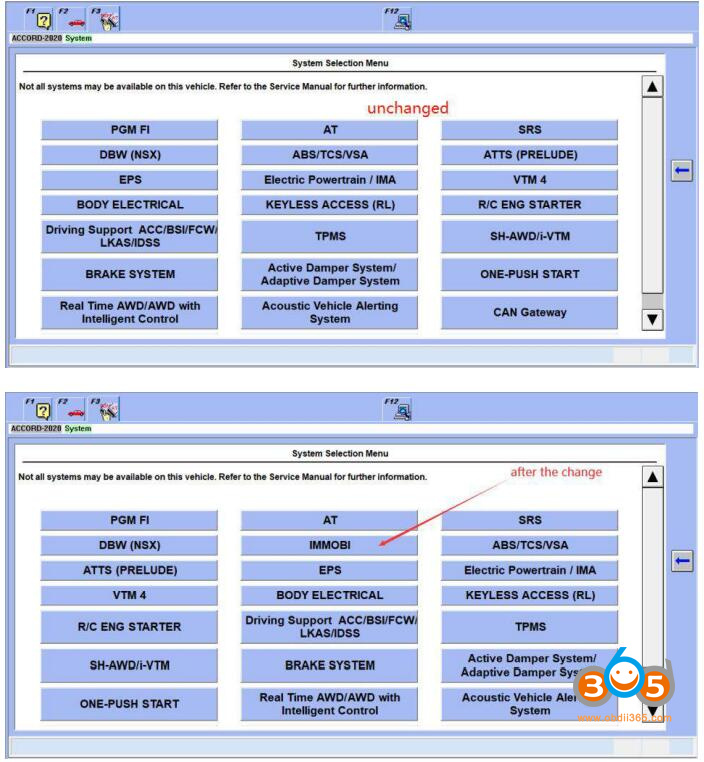
The specific operation steps are shown in the following pictures, and there are two changes in total.
After change dealer number, connect the vehicle and enter the software, there will be an IMMO option, and if it is not changed, there will be no immobilizer option.
II. Install Toyota Techstream for VNCI NANO J2534
Download Toyota 17.00.00/17.20.013:
https://mega.nz/file/6ZABzbxS#PNHECjMr1S7mDMGWuOOK-6icrSV5cFsL2FbZONEg01c
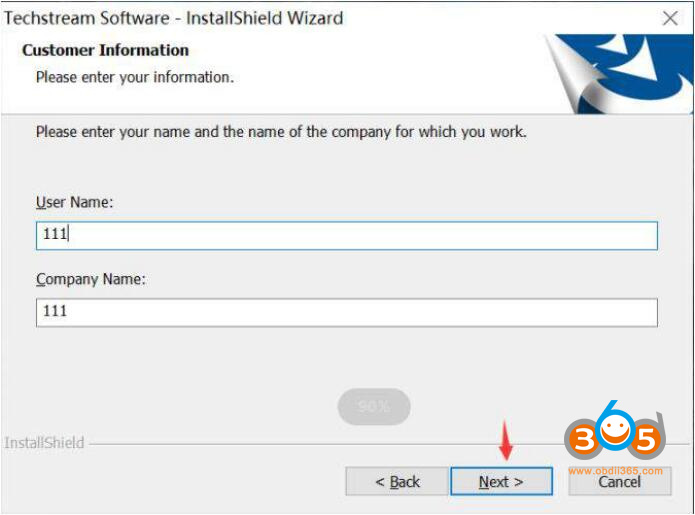
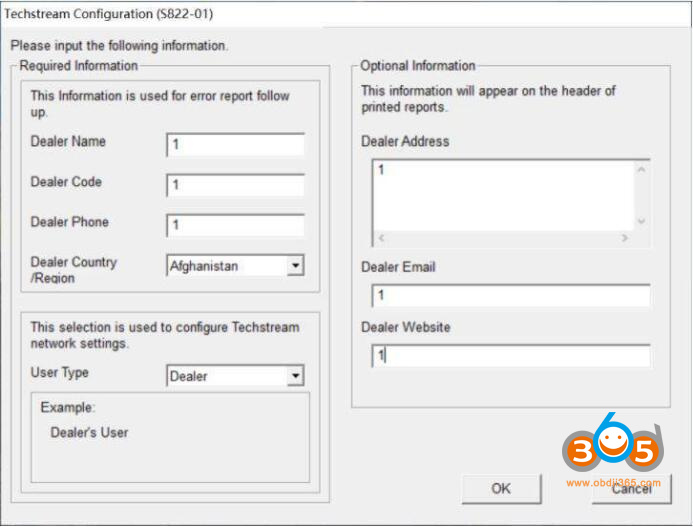
Install techstream setup
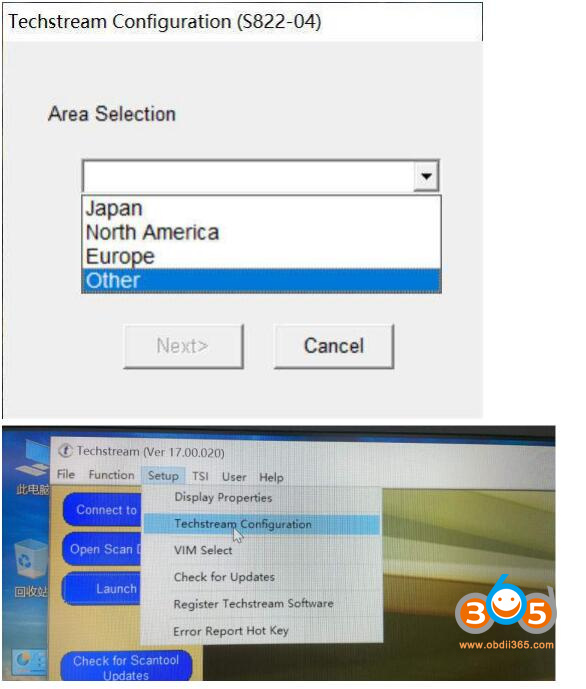
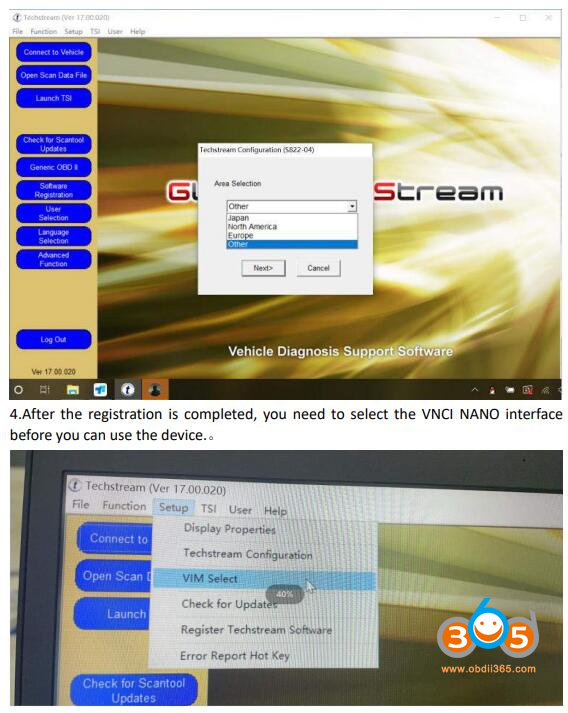
2. When you open the software for the first time, you will be prompted to select an area, just select the area corresponding to the vehicle, and you can also change it in the software later
2. When registering, confirm the area — software version number – each area needs to be registered when it is used for the first time, and the registration time can be selected at will.
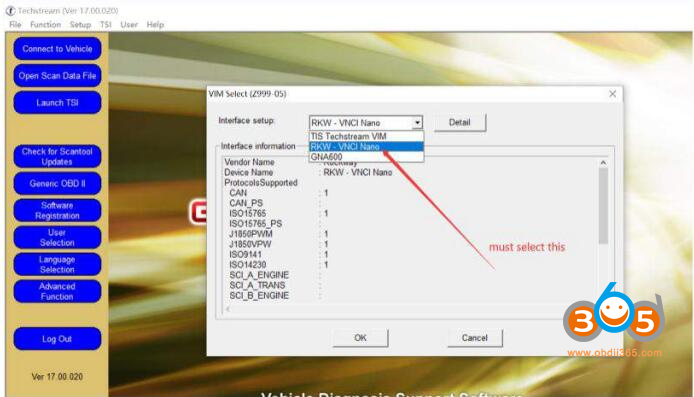
4. After the registration is completed, you need to select the VNCI NANO interface before you can use the device.
III. Install PCMFlash for VNCI J2534
download pcmflash 1.20 :
https://mega.nz/file/TIw1EBwY#hIclEWBhhU9ByjLgoQrCRG8VRTOb82I0m51oEGyxiPQ
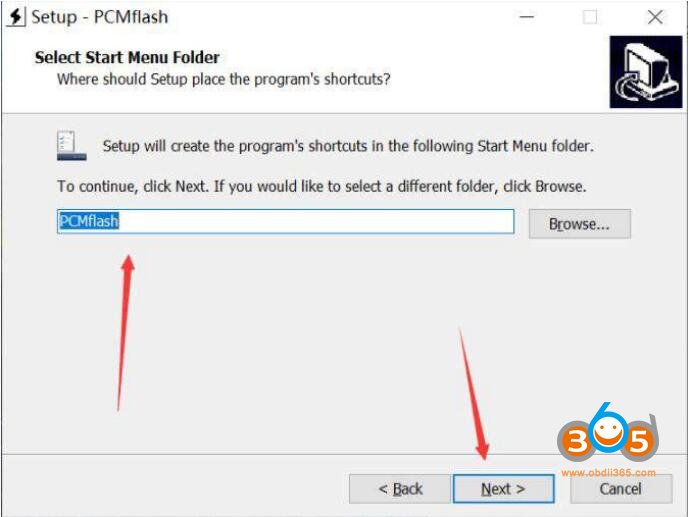
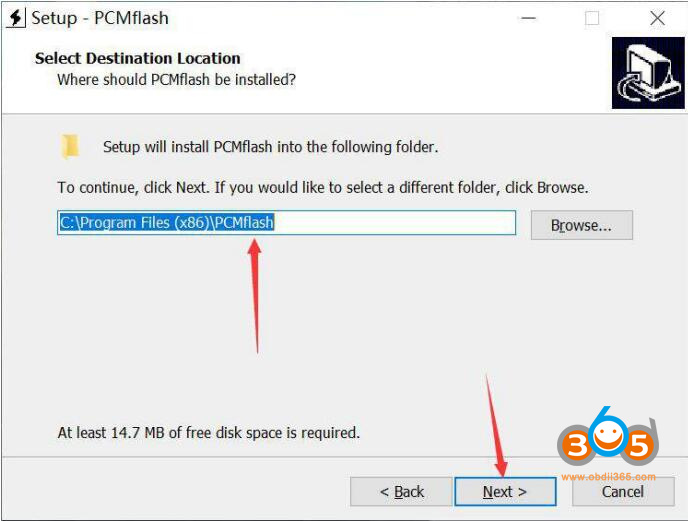
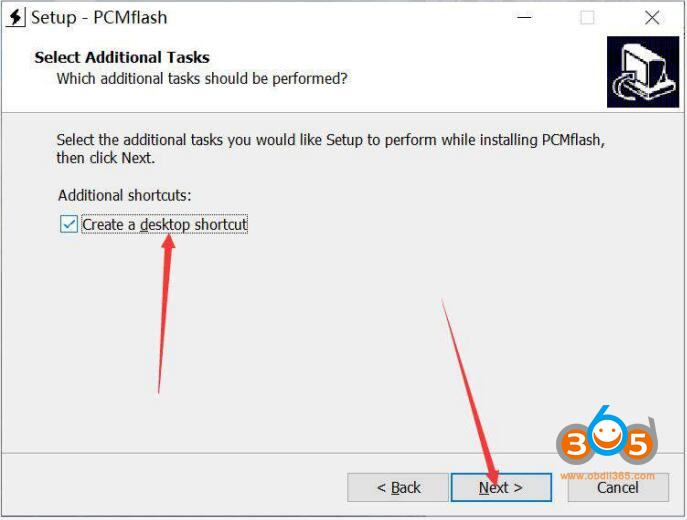
Install PCMFlash setup
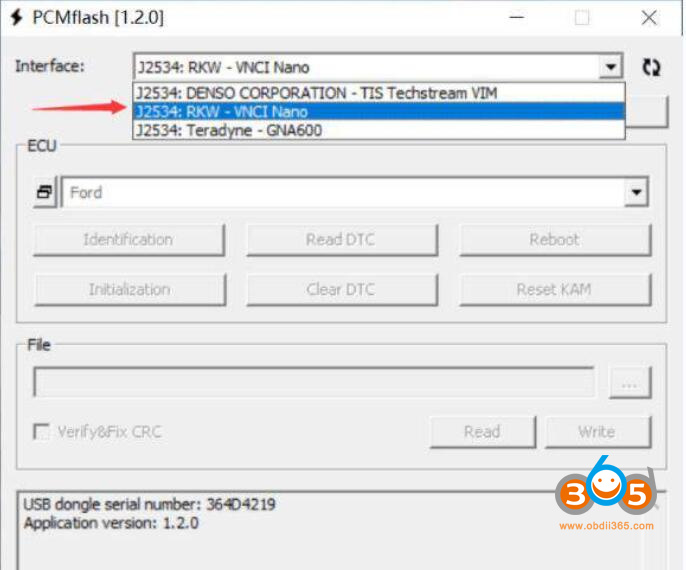
After the installation is complete, select interface as VNCI NANO
IV. Install Forscan with VNCI J2534
Download Forscan 2.3.48:
https://mega.nz/file/XQ4kAQBI#4CujUR7XKRnQ0_MsXcQvryumnHruPmy9qNdpahqIeYQ
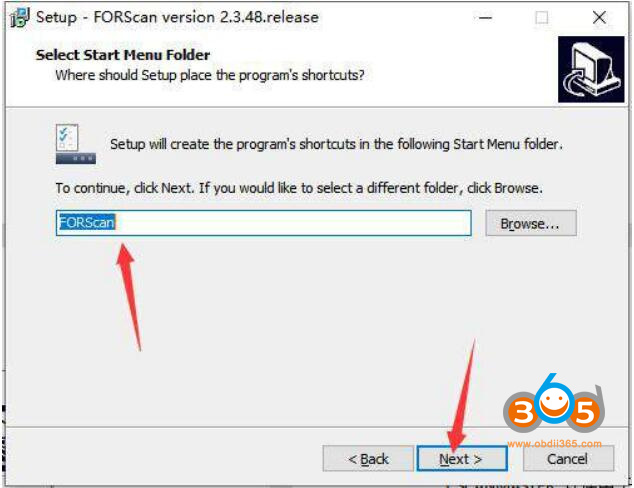
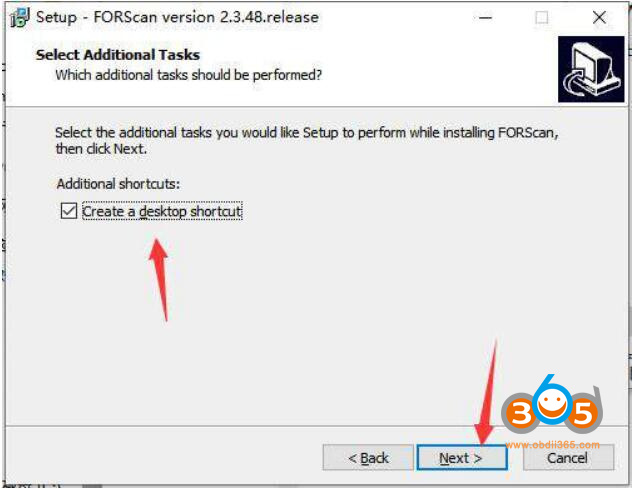
Install Forscan setup
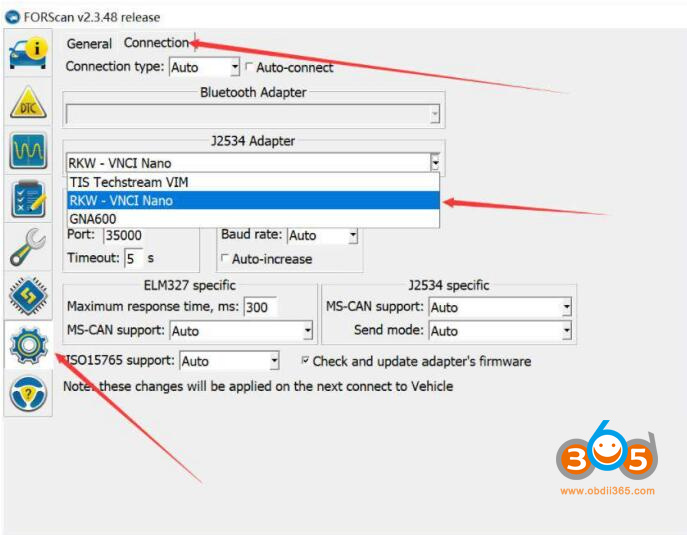
After the installation is complete, select interface as VNCI NANO
V. Install SCANMASTER for VNCI J2534
Download scanmaster v2.1:
https://mega.nz/file/PQpynZDD#mNdKmUxh6FHqGUdvb8LQEJgb5Y3_W4X_-I7uXVK1hdo
1. Since the SCANMASTER software needs to be registered, we only have the cracked version of V2.1 for the time being.
The specific registration steps and installation steps are described in detail in the SCANMASTER software installation package.
2. After receiving the software, turn off the anti-virus software.
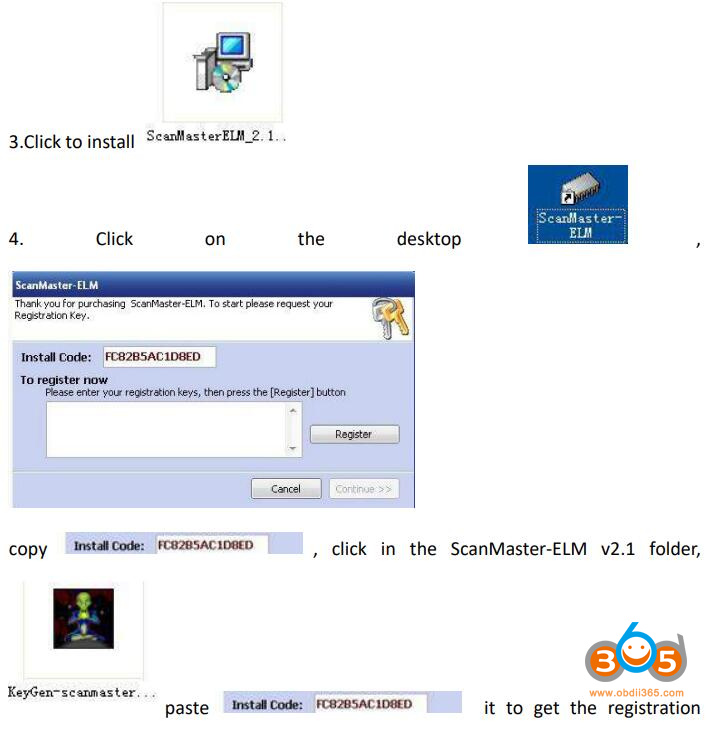
3. Install ScanMasterELM setup
4. Click ScanMaster-ELM icon on desktop
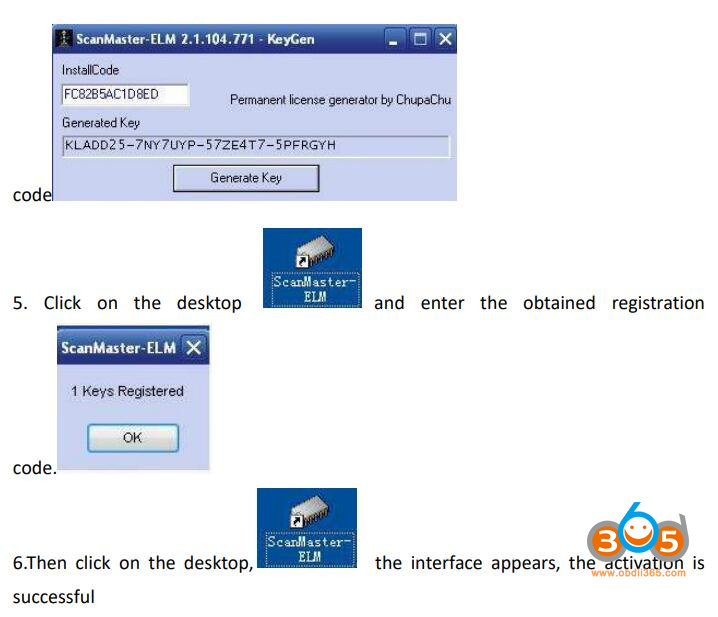
5. Copy Install code and paste the code to Keygen-scanmaster in ScanMaster-ELMv2.1 folder it to get the registration code
6. Run ScanMaster-ELM and enter the registration code to activate the software
VI: Install ODIS for VNCI J2534
Download VAG ODIS 9.10 :
https://mega.nz/file/aihm0AIT#_YgcOUa9QUxrg92PFo1rK0zU-Gx-Wy_7B2iCC49QiO4
1. Get your ODIS software installed.
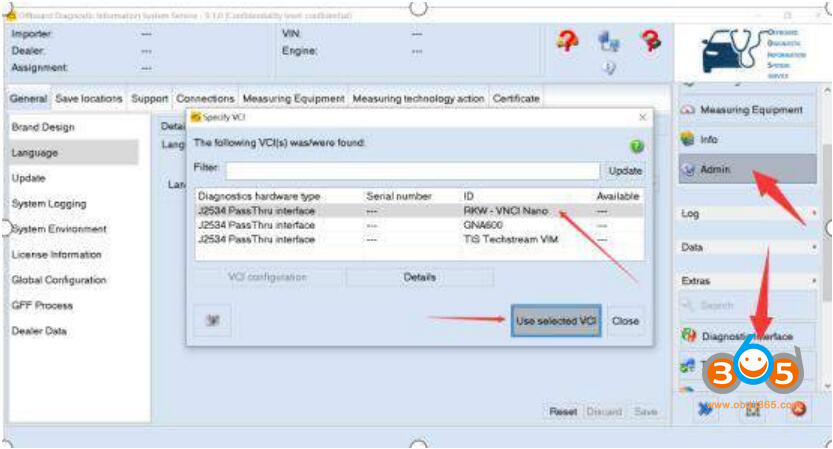
2. After the ODIS software is installed, select VCI as J2534 passthru interface- RKW VNCI NANO interface
More software remains to be tested. Keep updating.
Also tested working with GM GDS2


