Getting Techstream up and running can be a bit of a pain. Hopefully this helps someone get started quickly.
Step 1: Purchase an OBD-II interface.
Option 1: MINI VCI cable
– http://www.obdii365.com/

Option 2:
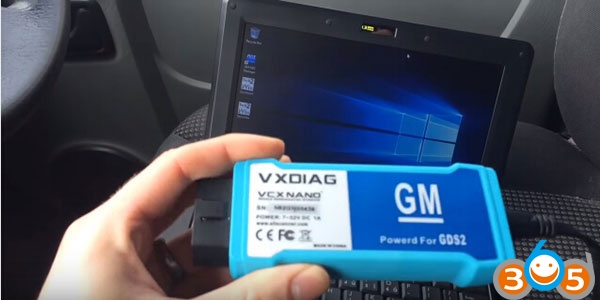
– VXDIAG VCX NANO Toyota
http://www.obdii365.com/wholesale/vxdiag-vcx-nano-for-toyota-tis-techstream-compatible-with-sae-j2534.html (not only works for diagnosis and customization but also ecu programming)
Difference of the two:
With MINI VCI cable, for the most part they work. On some cars they will not be able to connect or cause error codes.
The VXDIAG VCX Nano uses it’s own firmware. It connects and reads codes much quicker than a Mini VCI cable.
Step 2: Download Hypervisor
- Windows / Intel Mac [Download Virtualbox]
- Apple M1/2 Mac [Download UTM]
Step 3: Install Software You Just Downloaded
- Windows: Double-Click downloaded file
- MacOS:
- Intel Mac: Double-Click downloaded file, run installer
- M1/M2 Mac: Double-Click downloaded file, drag to Applications folder
Step 4: Download TechStream Image:
– Windows / Intel Mac: LINK
– M1/M2 Mac: LINK
Step 5: Double-Click downloaded file.
Connect & Enjoy.
Operating system tips and guides:
Vista, Win7, 8 and 10 do actually have 32bit versions available
They are often preinstalled on cheaper mini laptops and the like.
The retail versions of the OS often gave you the option to install either the 32bit or the 64bit versions.
The drivers for the cheaper listed cable says it only supports XP and 7 however.
Its no doubt possible to get it working in later OSs though, but it could be painful.
If in doubt though, Virtualbox should do the trick.
Reasons to package everything into a virtual machine image:
– Security: Everyone’s essentially running cracked versions of TechStream from an unknown source. There’s a non-zero chance of ransomware slipping into one version. Running the software in an isolated virtual machine is a layer of security here.
– Portability: The software only runs on Windows. Using a virtual machine image allows the software to run on virtually any computer.
– Access: The software ships on CDs (sometimes mini-disks). Lots of laptops don’t have CD drives, and any ‘slot-type’ drive won’t accept mini-disks.
– Ease: Drivers for the two popular cables are pre-installed with a recent version of TechStream. It’s basically just download and run.
That said, if you are running a Windows machine and can follow the instructions included by the seller, there’s no reason you *have* to use a virtual machine.
Techstream VMware questions and answers:
I noticed with my ’98 LC that I don’t have a ton of settings that I can adjust, is that what others are seeing?
For example, I’d like to adjust my wiper delay and keyfob unlock settings, but it looks like they’re not available. Is there a list of accessible settings for each year of vehicle?
I don’t have very many settings in my ’02 LX.
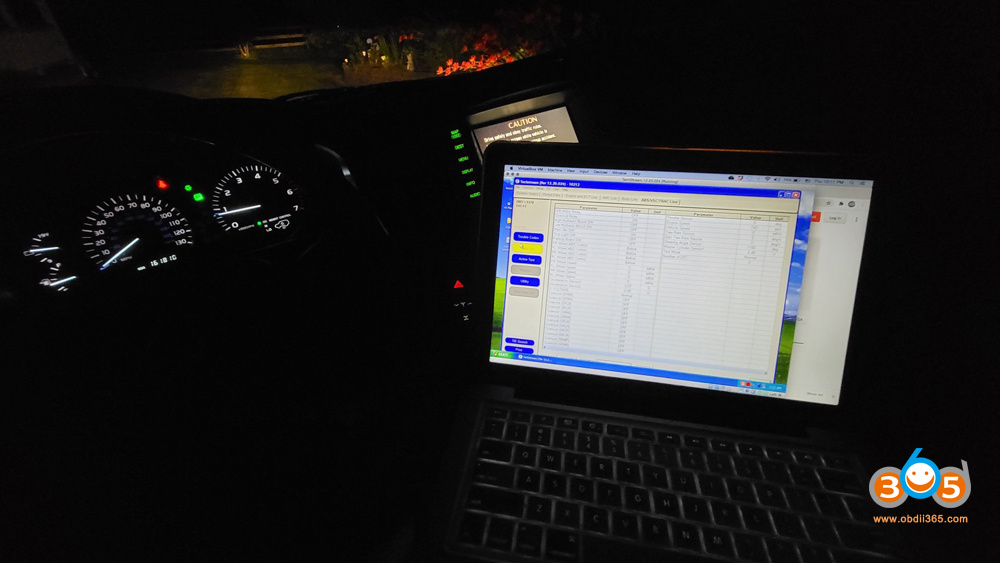
I have a Mac. Have you tried that interface with Apple?
I successfully run this setup on a Mac with the VXDIAG VCX NANO Toyota interface
Working with AHC pressures?
I am able to read the AHC ECU (And All ECUs for that matter) using the VXDIAG OBD-II interface. I also purchased a Mini-VCI cable and was unable to communicate with the AHC ECU, but had no issue reading the other ECUs. Again, possible I just had a bad Mini-VCI cable.
In the linked image above, drivers for both interfaces are pre-installed.
Anyone have any experience with the wired vs wireless OBD interface? I’m wondering if its worth an additional 50 dollars for the VXDiag version.
I’m not sure if you’re referring to the VXDiag model I linked to in the OP. If you are, it isn’t wireless. I’d probably just purchase the Mini VCI cable first, and if that works for you, perfect. If it doesn’t, return it within 30 days and buy the VXDiag if necessary. It’s the techstream software that’s doing the heavy lifting, so theoretically (if they are both good cables), each will give you identical functionality.
I only purchased the VXDiag because I was having issues reading AHC trouble codes, and those two interfaces use different drivers.
What exactly does Techstream allow us to see/modify?
For LX, and LC owners with AHC, Techstream allow us to see AHC pressures + trouble codes. Even without AHC it allows everything from basic ‘check engine’ light diagnosis, key programming (May only be 04+?), and adjustment of some settings like ‘roll down my windows when I unlock the car’ — the adjustable preferences differ with different model years. Not too many on my ’02 LX, but I believe the folks with newer LC/LXs have more options.
Does Techstream get into ABS codes?
YES, it does.
Feedback:
1).
Happy to report I was able to successfully do this indeed in less than 5 min minus download time.
On 2010 MacPro which has Intel chip.
2).
I purchased the mini vci cable and followed the instructions above to download the two packages. One for VM and another for the TS windows XP image. Here is what I did.
1. I installed the Virtual Machine on a Windows 7. Even though I was running native windows 7 on my old laptop, I still installed the VM as all configs are part of step 2. No customization needed.
2. Imported the ova file that had the TS windows image into Virtual Machine.
That is it. It worked out of the box.
3).
Using a 2016 MacBook Pro I installed VirtualBox (free) and installed.
Then I downloaded directly from Microsoft the Windows 10 .iso for 64-bit and installed it in the VBox environment.
Next I installed the Java runtime environment for Windows 10 and installed.
Within VBox settings I added USB filters for the VCI cable (once plugged in).
Installed Techstream for 64-bit in the VBox.
Installed the drivers and Program_86 folder from the disk provided in the Amazon purchase.
Ran TechStream, registered with code provided in purchase. Selected driver provided in VCI menu.
Already to go! All functions work for 2011 LX570.
4).
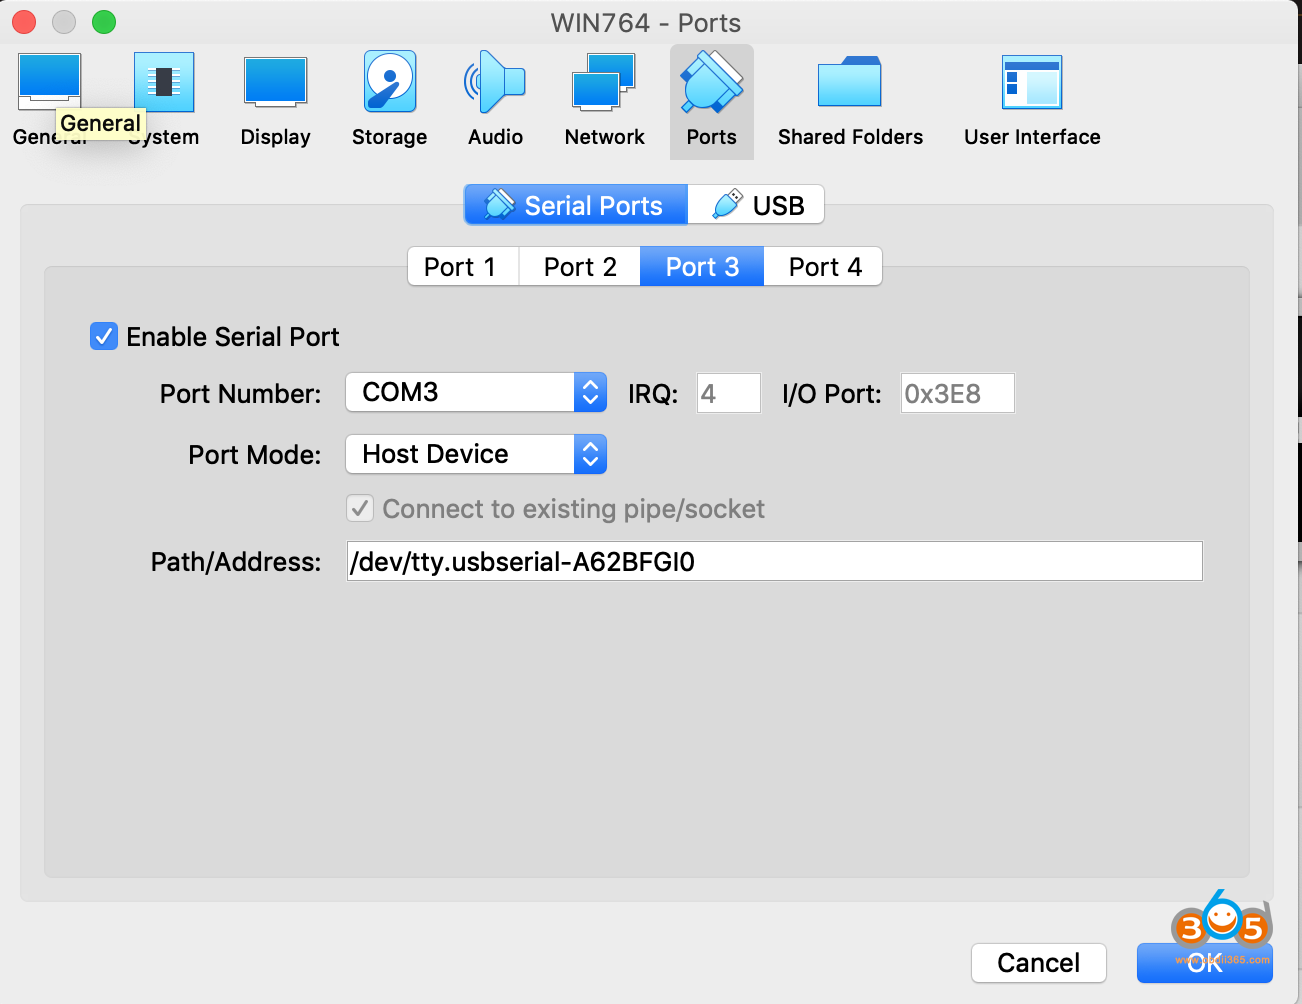
If anybody is using a HOST (meaning your main computer you are using) Mac machine and a Windows VM using VirtualBox, here’s how to also get your PORT(COM 3) recognized in the Windows VM. This is important because the cable I ordered needs the drivers for the USB AND the PORT(COM 3) installed. If your cable does not require for this, then please disregard.
On your host mac machine:
1. Plug in the cable to your computer
2. Open terminal
3. Type: ls /dev/tty.*
4. Press enter
5. You should see something like this listed: “/dev/tty.usbserial-A6007dAe”. Copy this down.
On your VirtualBox with your cable plugged in:
1. Right click your VM and click “settings”
2. Click “ports” at the top
3. Click “serial ports”
4. Click “port 3”
5. Click the checkbox so that there is a check for “Enable Serial Port”
6. Where it says “Path/Address” paste in what you copied above ^ (/dev/tty.usbserial-A6007dAe)
7. This is the information you should have shown in the picture below
8. Start your VM
9. On the top of your VM, click “devices” -> “usb” -> click enable M-VCI
10. Go to your windows search bar and search and open “Device manager”. Or, right click my computer, right click “C drive” and click settings. On the left you will see device manager
11. After opening device manager, click “PORT” and you should see “PORT(COM 3) there or something named similar.
12. In device manager, click USB and you should see your USB enabled there as well.
Hope this helps.
Verified working for Mac 10.14.13 and Windows 7 x64 VM and cable version 1.4.1
2005 LX470